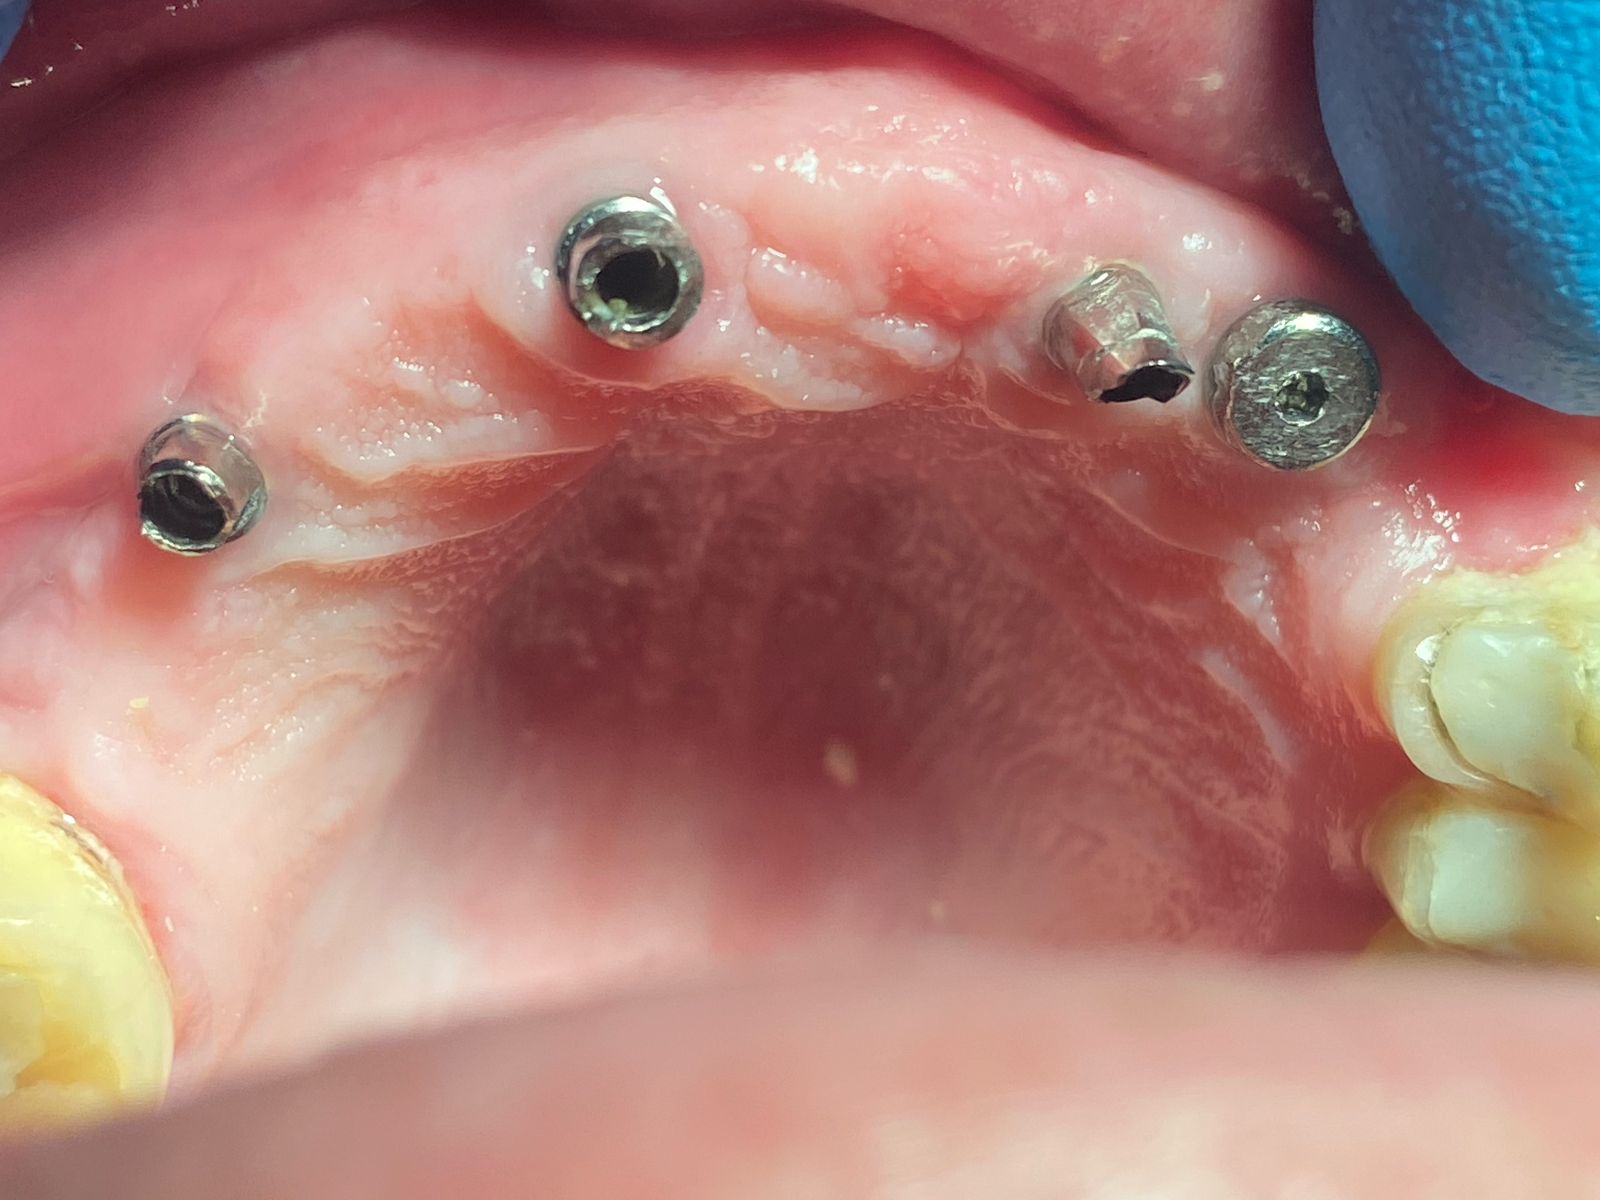
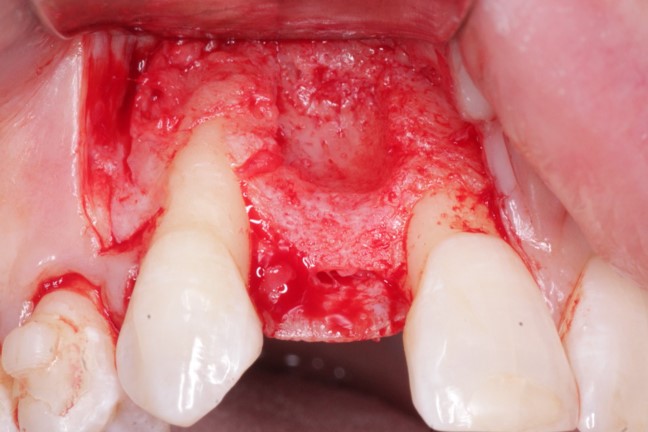
Utilizing Intraoral Photography
Taking intraoral photographs is easy. Dr.Robert Horowitz, a periodontist with a special interest in intraoral photography. He has lectured across the U.S. on this and related subjects. He maintains a private practice specializing in periodontics and implant dentistry with offices in Scarsdale, New York and New York City. He is a Clinical Assistant Professor in Implant Dentistry at New York University. Dr. Horowitz has offered to provide our subscribers with pearls on intraoral photography. This will be the first article in a series that will cover both camera equipment and software utilized to enhance patient education and presentations. Osseonews (ON): Dr. Horowitz what kinds of cameras would you recommend to the novice just getting strated with intraoral photography?
Dr. Horowitz: One excellent camera for the beginner is the Canon G5. This is an all-in-one type camera. It is very easy to learn and even an auxiliary can be trained to use it. To get closer than full-face images, Canon makes a conversion lens adapter and a closeup lens. When you need close-up images, the assembly fits on the front of the camera over the existing lens.
ON: What would you recommend for illumination?
Dr. Horowitz: One simple solution is to use the flash built into the camera body. While the built-in flash works very well for full-face and portrait shots, it has limitations for intraoral photography. The disadvantage with that is that it sometimes creates shadowing in some areas due to the add-on macro adapter. Another excellent option is the use of a ring flash which snaps on to the lens. One very good system is the Canon MR14 EX. This is a ring flash with two outstanding features. Firstly, the flash gives very even, high-powered illumination. This will get sufficient light to take an image of the posterior parts of the mouth or a full-arch. Sufficient light from the flash enables the operator to get a great depth of field, transferring all of the information in the field of view to the patient or audience with no out of focus areas. If the practitioner is interested in accentuating contour in anterior restorations, the flash can be made to operate as if it were a 2-point flash. Another system is the Canon MT24 EX which is a two-point flash, outstanding for anterior cosmetic images.
ON: As a rule of thumb, what would you recommend for f stops?
Dr. Horowitz: For most intraoral photographs taken on the G5, f8, the narrowest aperture, would be the best setting. The smaller the aperture (which, unfortunately for confusion’s sake, corresponds to the largest f-stop) will enable the image to be taken resulting in the greatest depth of field.
ON: Which film speed would you recommend?
Dr. Horowitz: An effective film speed of 50 is the equivalent of the slowest film speed that this camera will utilize. Using a slow ISO film speed will give the operator less noise and a more accurate image. For intraoral photography with this camera, this speed will work well in all situations.
ON: What would you recommend for shutter speed?
Dr. Horowitz: Set your shutter speed at 1/125. This will work well in all situations and enables the flash to fire at the proper time.

