Bicon implant position: bone vs prosthetic positions?
Dear colleagues,
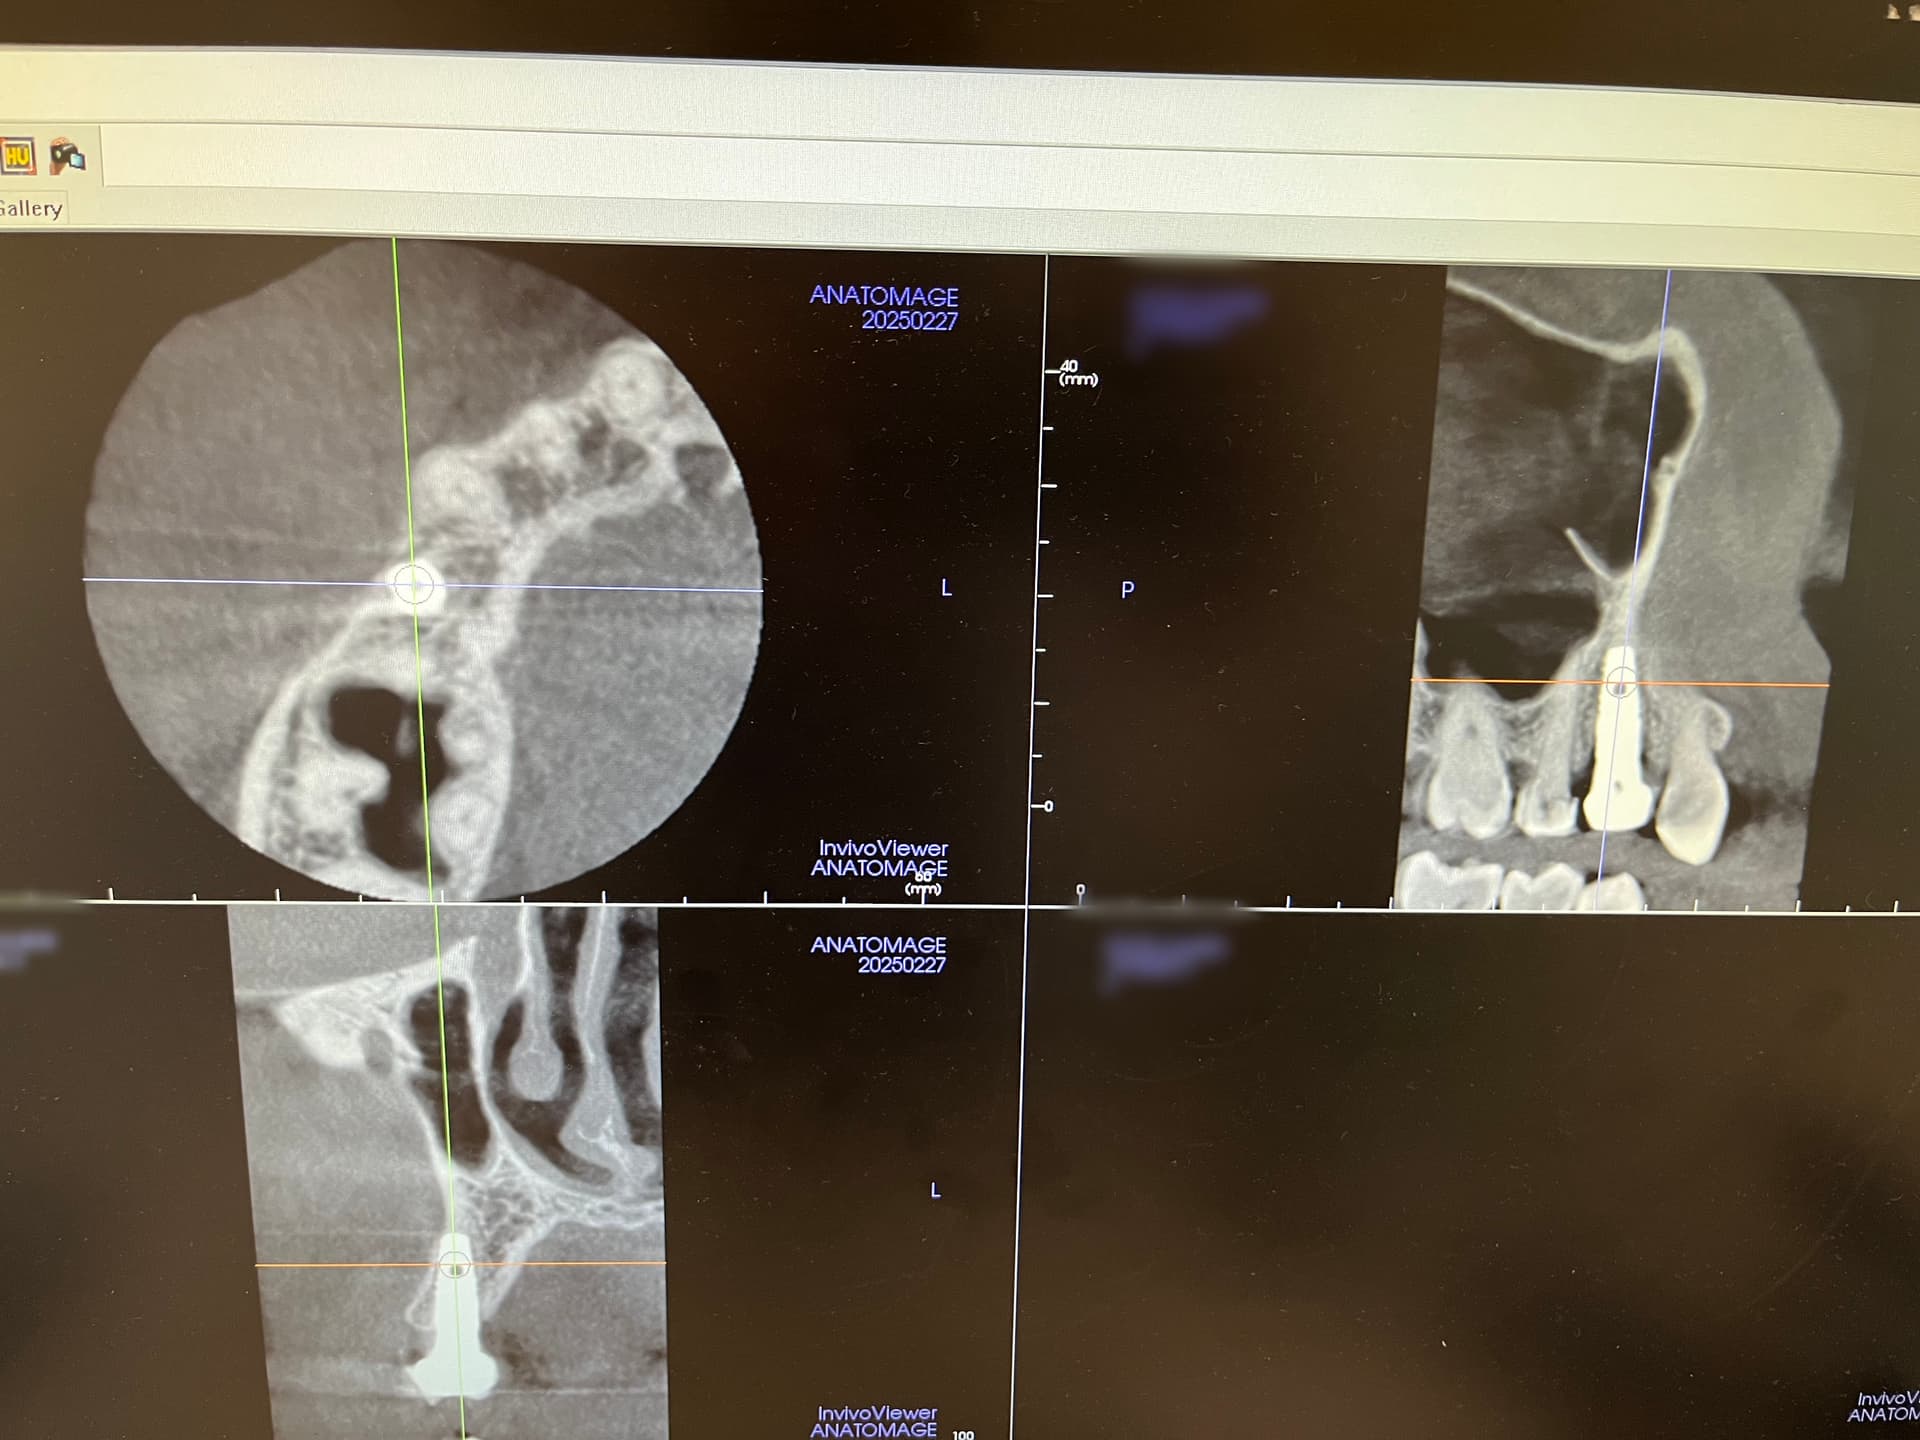
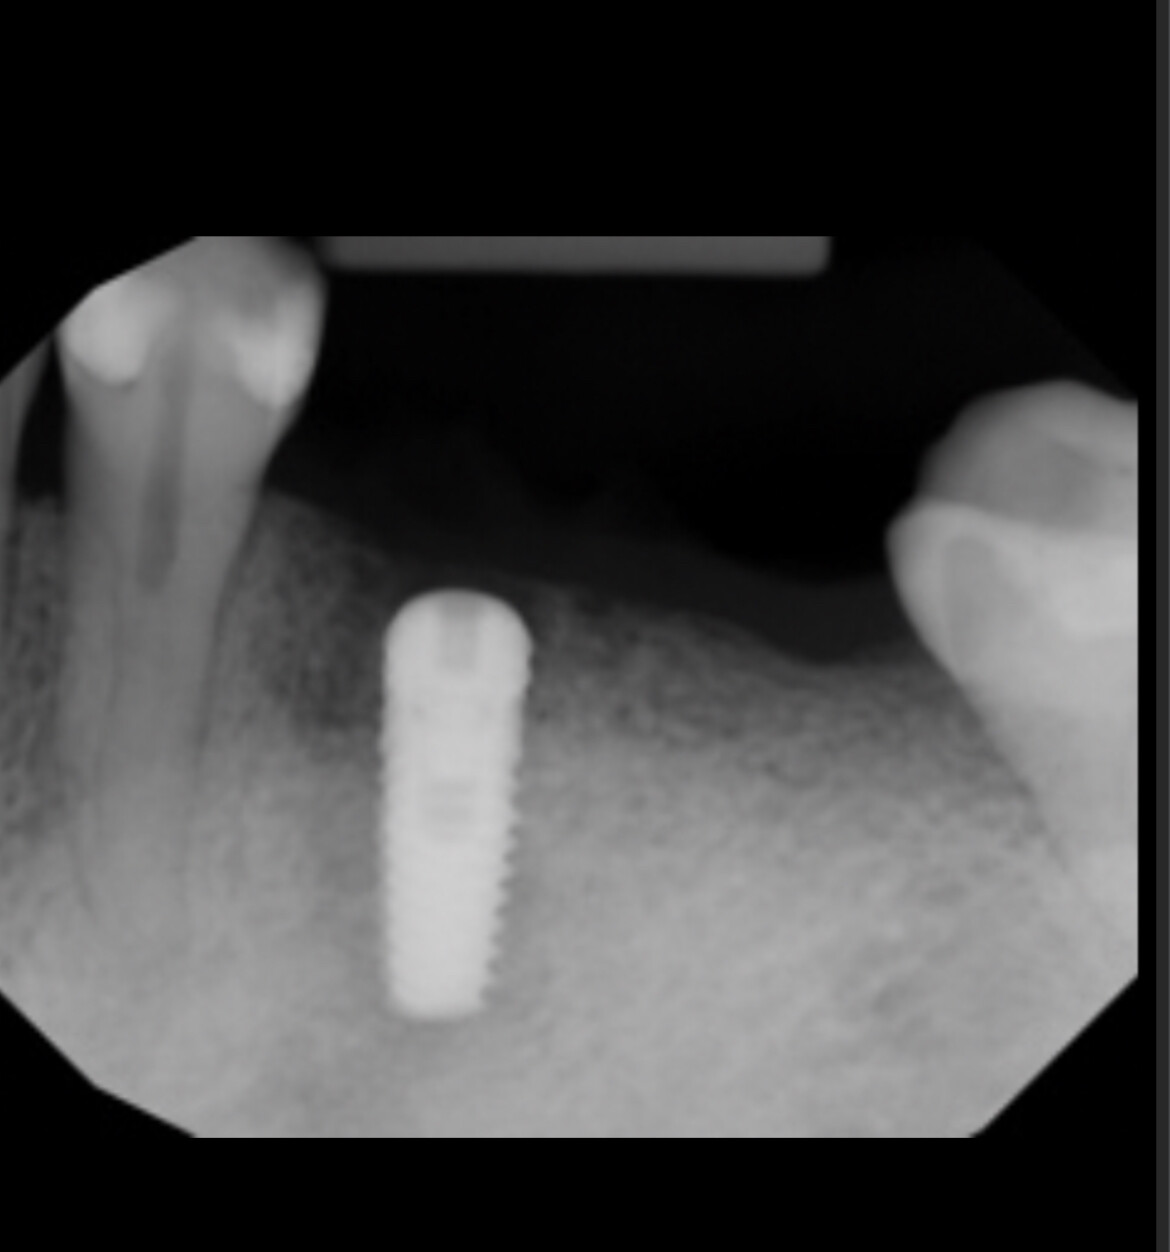
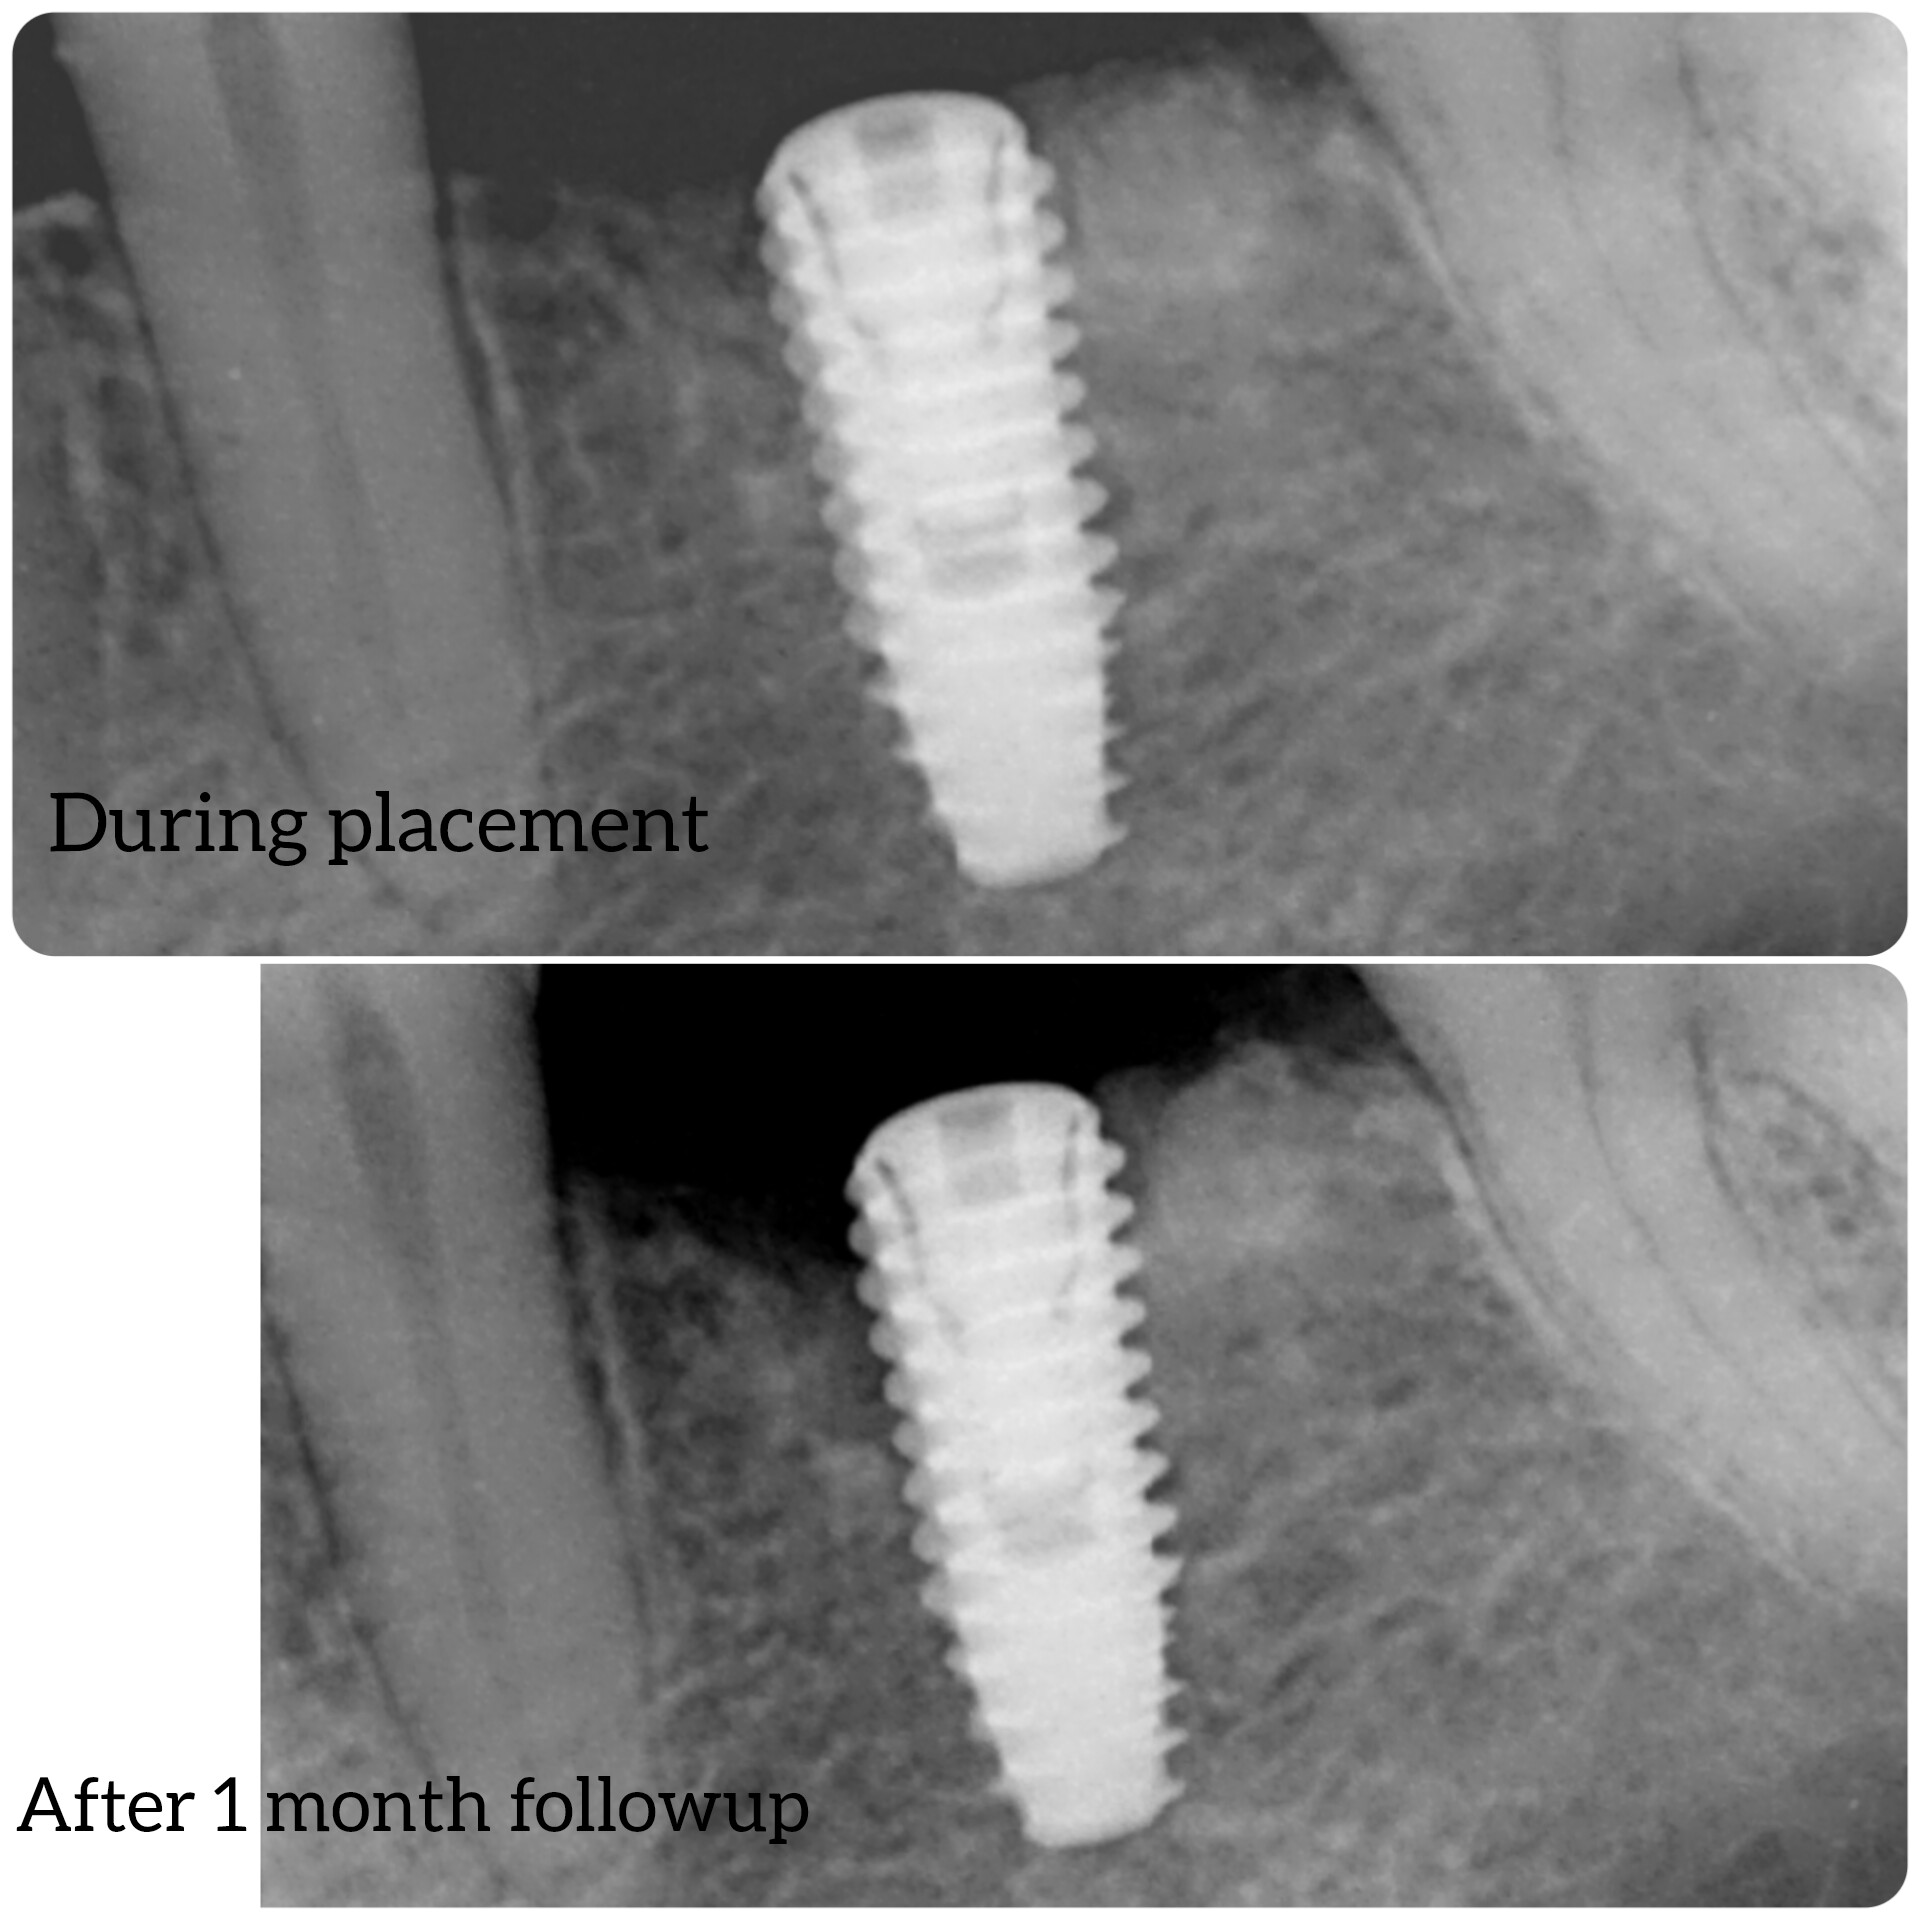
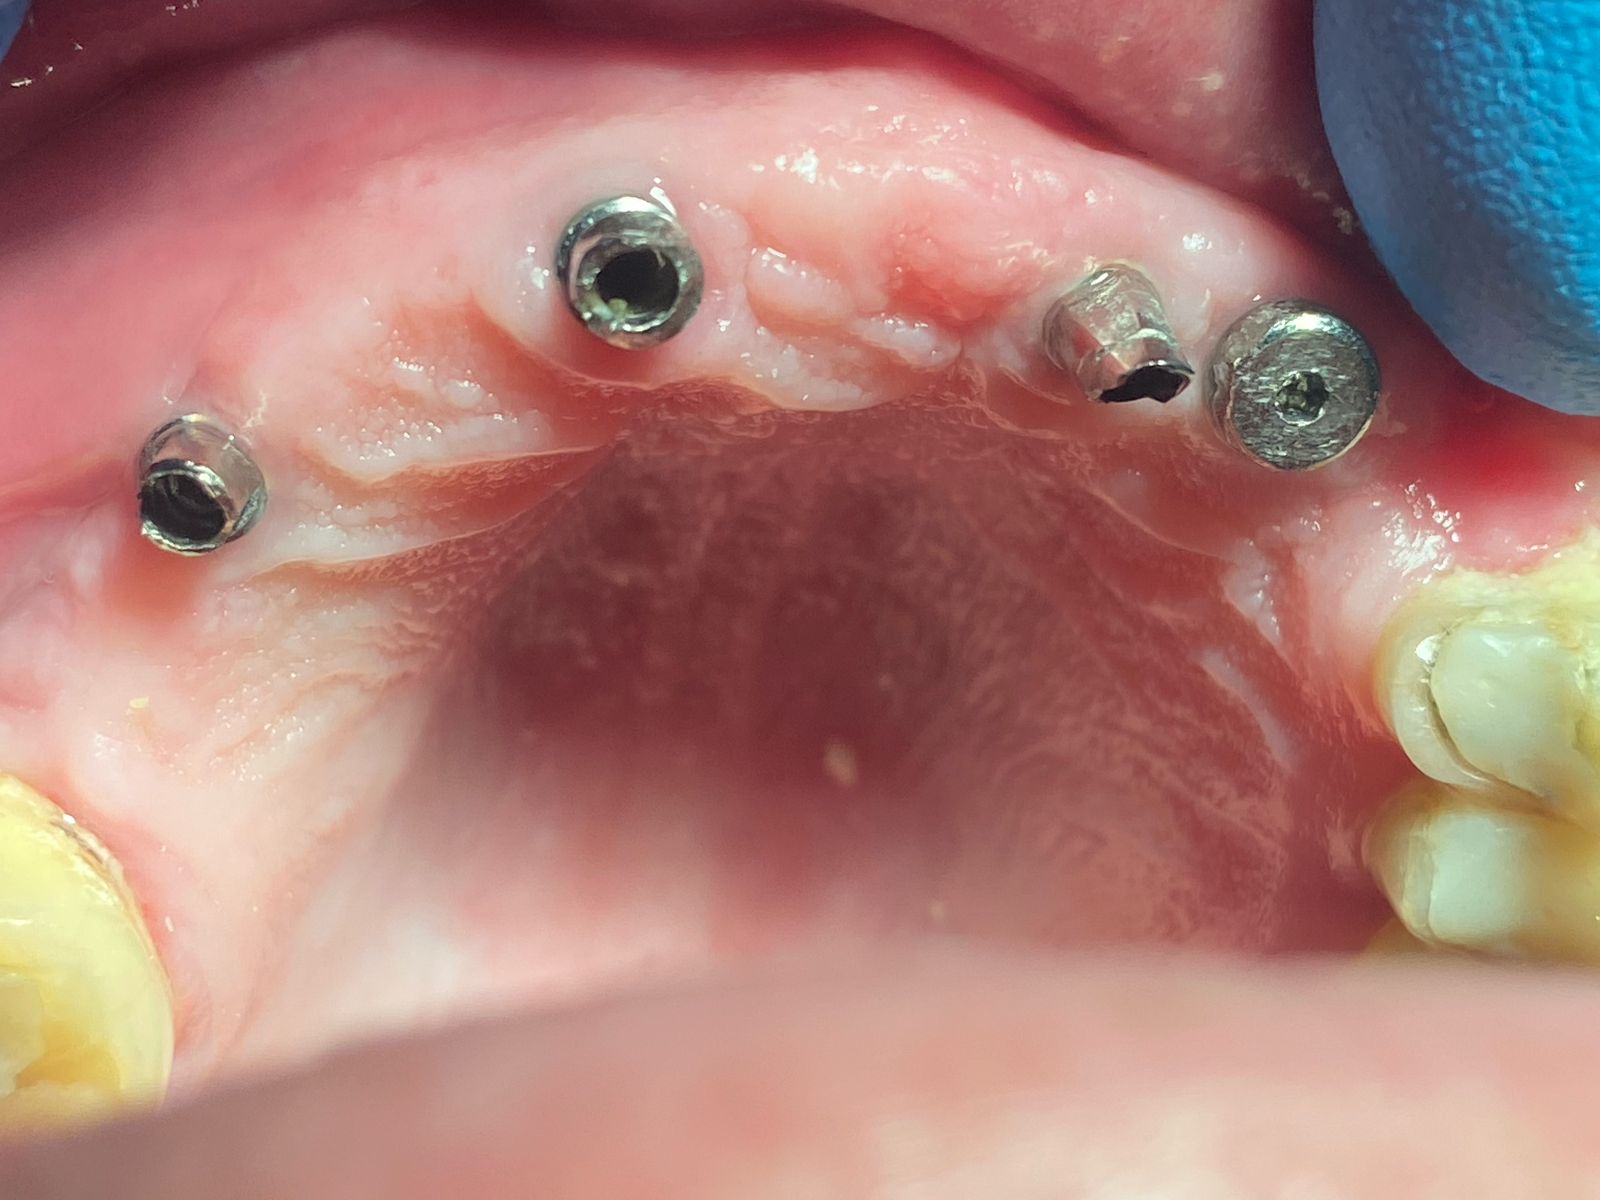
I’m trying to understand Bicon ideas and I’m planning some first cases using these implants. I have been working with Osstem(Hiossen) implants, but I’m trying to add a second, different system/approach to my portfolio. With Osstem, I would choose the ideal prosthetic position and augment missing bone. If I understand it properly, Bicon is trying to reduce augmentations to the minimum. Please see enclosed CBCT printscreens.
What would you choose with Bicon?
1) ideal bone position, and then compensate it by individual abutment?
2) ideal prosthetic position and let the implant be almost 6mm subcrestally on lingual side?
3) bone augmentation?
4) other ideas?
Thank you


8 Comments on Bicon implant position: bone vs prosthetic positions?
New comments are currently closed for this post.
Gianluigi Giammaria, ital
6/14/2019
I used BICON for 8 years. I think that BICON is the best. Put your fixture in the lingual side and follow your ideal prosthetic “position”. You have bone. Don’t use individual abutment. ? di you must/want do regeneration, use beta tricalcium phosphate . https://m.youtube.com/watch?v=imlu0xJgbIw sorry for my english!
Mark Bourcier DMD
6/14/2019
I can't tell from your images why your desired prosthetic position is not in line with the available bone. Generally speaking, you would like to have your implant receive forces along its long axis, as long as the bone is there to support it. Also you really want the top of the implant about 2mm subcrestal, not shallower nor deeper. You have a great advantage having CBCT but don't allow that to cause you to overthink this.
Don Rothenberg DMD
6/14/2019
I have been using Bicon since 1986.
What info is missing here is to see the occlusion. Then I would know how to restore this case.
Feel free to contact me on FB, if I can help.
AMG
6/14/2019
Every thing, as seen in the planning, seems to be quite acceptable... no revisions seems necessary. EXCEPT… A-P position, for the following reason.
Can the implant position be shifted, or re-located (mesially) to be able to create an ideal shape/size for the crown that is going to receive? As it stands, it would most likely be ending up with an oblong (M-D) occlusal table!
This 3mm. well/post, along with selection of a minimal angled (correcting) abutment, can comfortably be employed, in the process of being able to achieve a "biologically and mechanically" un-compromising restoration (crown).
Manipulation of either hard or soft tissue in any manner appears to be un-necessary.
Exempt, clinical observations on the kind and quality of soft tissue.
Questions, comments and criticism welcome.
AMGDDS
ukprostho
6/15/2019
If you simply merge the .stl file generated by scanning your diagnostic wax-up with your CBCT dicom data you will know exactly how your implant lines up relative to the occlusal surface of your restoration, what components will be required and if Bicon is the right choice. If you have decided on Bicon already then you should have a working knowledge of that system and compare it with your current system to see which one works best
John Manuel, DDS
6/15/2019
A higher Lingual plate and lower/slanted Buccal plate is the norm in these areas.
I’d position the 6x6mm Bicon against and parallel to that Lingual plate in most 0cclusions and 2-3mm below the slanted Buccal plate. The standard Bicon reamers will automatically align with the Lingual plate in most situations and the depth is controlled by the pilot drill or gentle hand reamers. You’d have to bear down very hard to perforate the inferior Lingual plate.
The “bowl” of the final abutment could be chosen taller to rest against that higher Lingual tissue/plate while preparing the Buccal side of the abutment to normal crown level.
The predictable solution to leveling the Buccal and Lingual plate height while adding 4-5 mm attached tissue is to perform a two-stage mandibular Ridge split.
Bicon has good participation courses on these and some are shown on their website.
Rainier Urdaneta
6/15/2019
Good choice on selecting Bicon implants to restore posterior areas with limited bone height. I have been doing this since 2002 with great results.
You should place the implant as guided by the prosthetic needs. You will end up with an implant that is more subcrestal on the lingual side which is not necessarily a problem with Bicon. I would make just one small change. In the last ct view you sent do the following: move the implant slightly more lingual, then tilted facially until ideal prosthetic path, then bring it more crestally so that the buccal shoulder is at the level of the buccal crest. This will make the implant less subcrestal on the lingual side, which will make restoration a little easier and you will “find” the implant when uncovering. Otherwise, the bone covers the implant completely and you have to go digging into the jaw to find it.
Good luck and welcome to the world of no screw loosenings or fractures ever in posterior areas!
John Manuel, DDS
6/15/2019
To further clarify my last post:
- Standard Bicon Reamers are NOT end cutting, so cannot deepen the preparation.
- Initial depth and angle is set by the 2mm, 1000 rpm pilot drill and “spacer” pilot drills help center preps with 6mm initial depth limit.
- A pilot hole drilled closer to the Lingual plate than the final radius will cause subsequent reamers to align with the cortical plate.
- Later increases in depth can be done by hand reamers in delicate environments allowing the doctor to feel more calcified structures such as lower cortical plates, pdls, etc..
- Bicon hand reaming allows enlarging the prep by arc section, e.g. you can limit cutting to Buccal, Lingual, Mesial, or Distal walls.
- if Buccal bone edge is thin, feathered, then 3 mm below bone edge will result in 2mm below bone edge after healing

