Bicon implant supracrestal: what is the outcome?

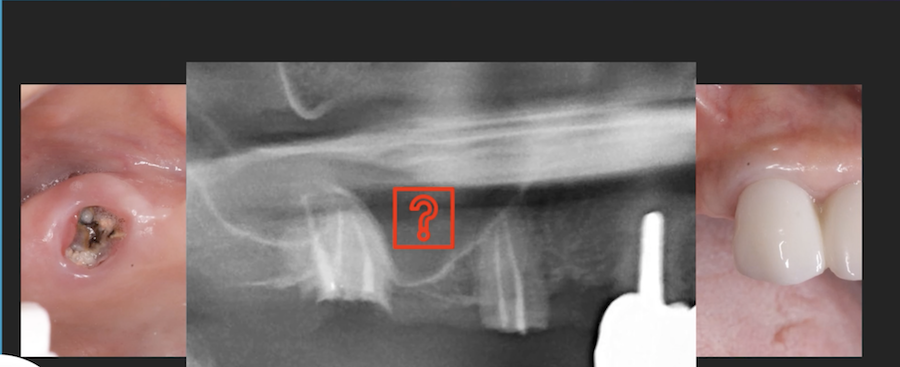
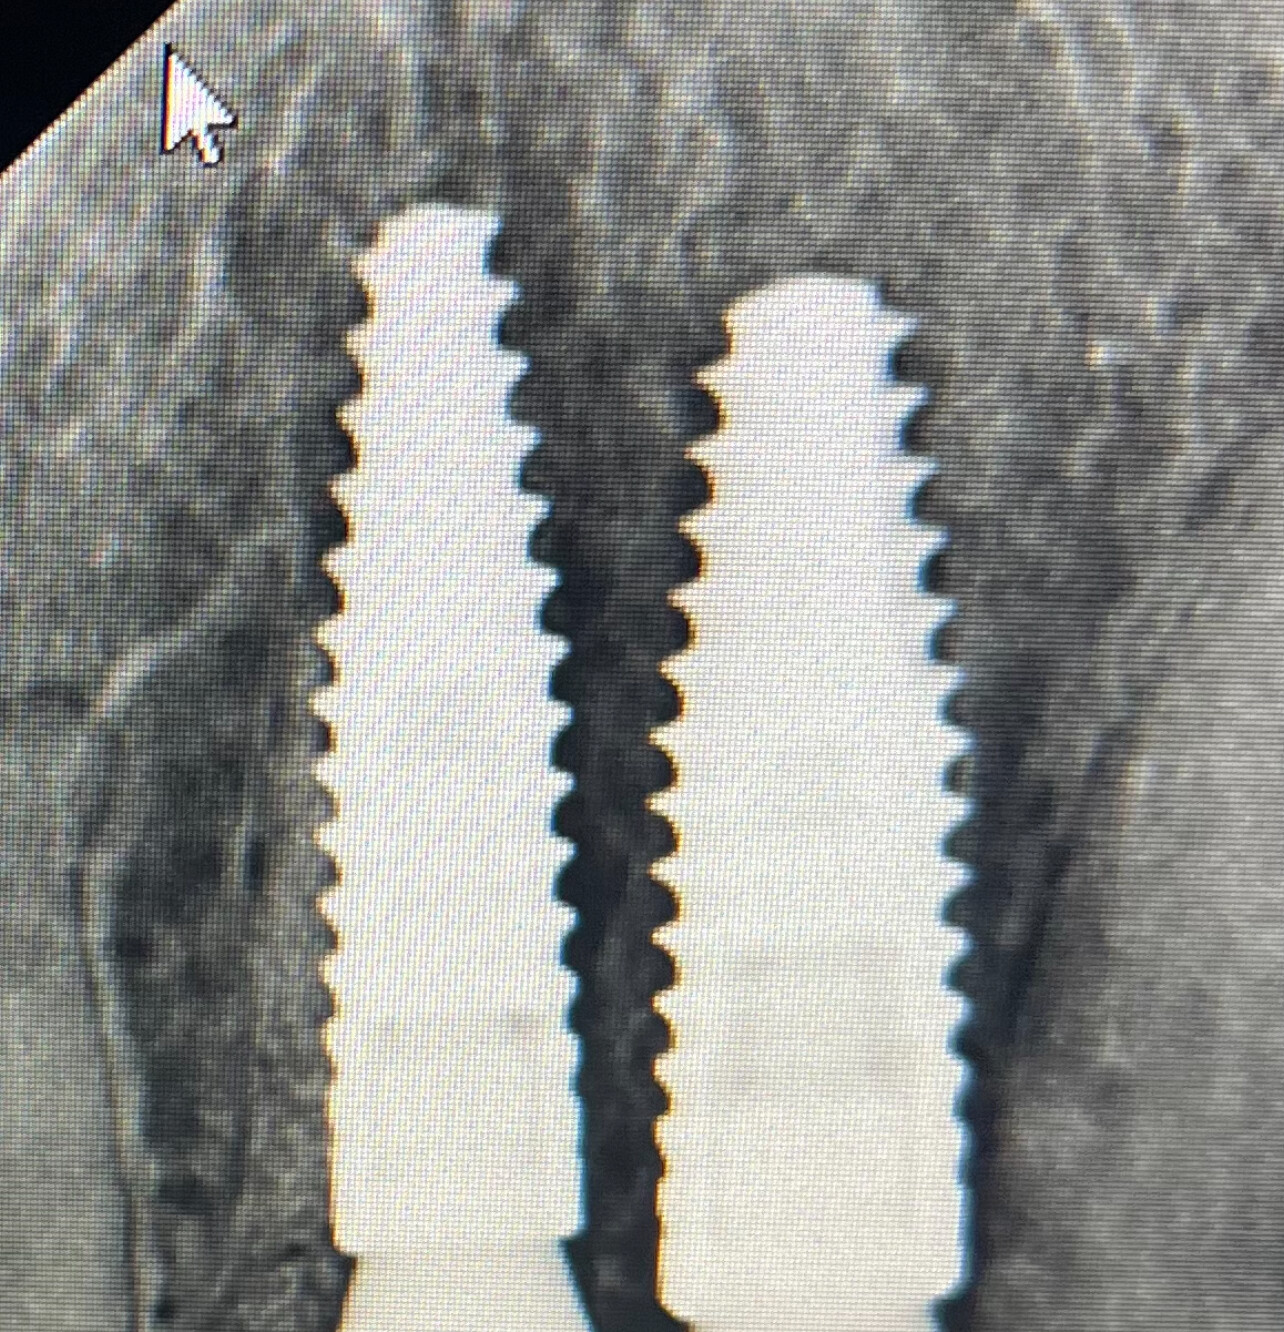
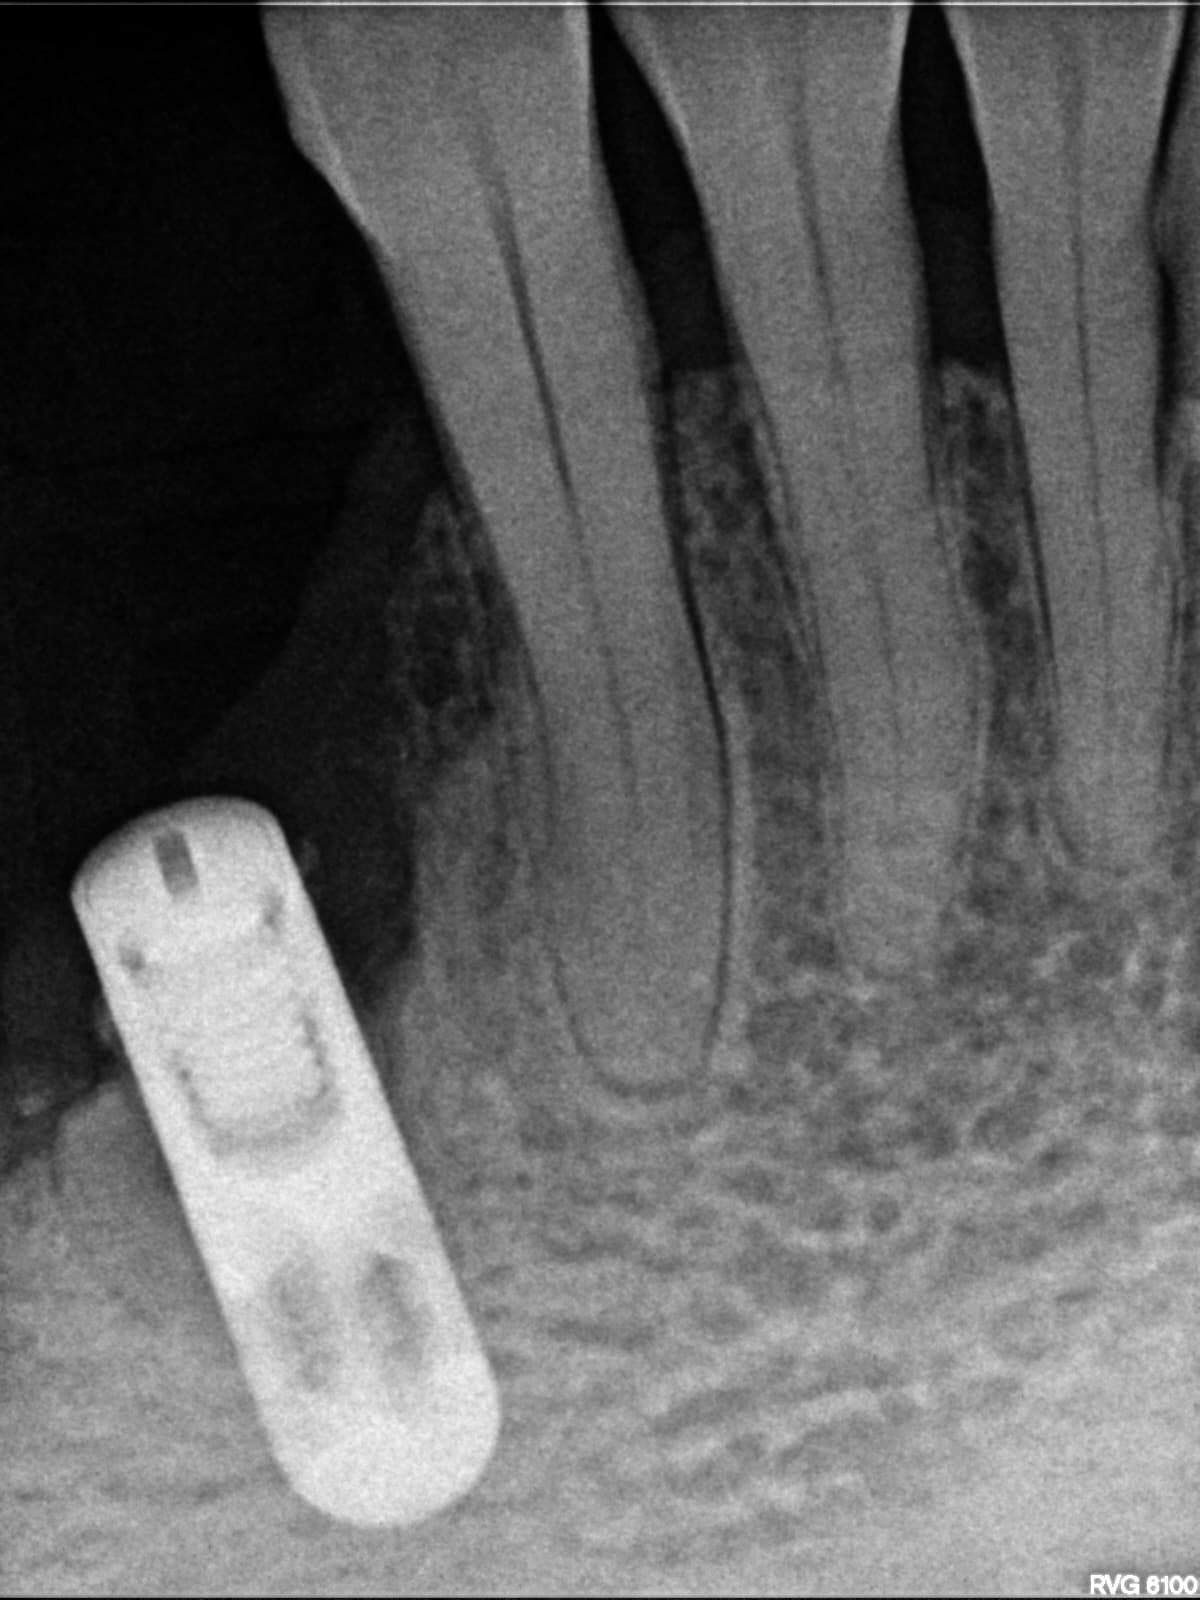
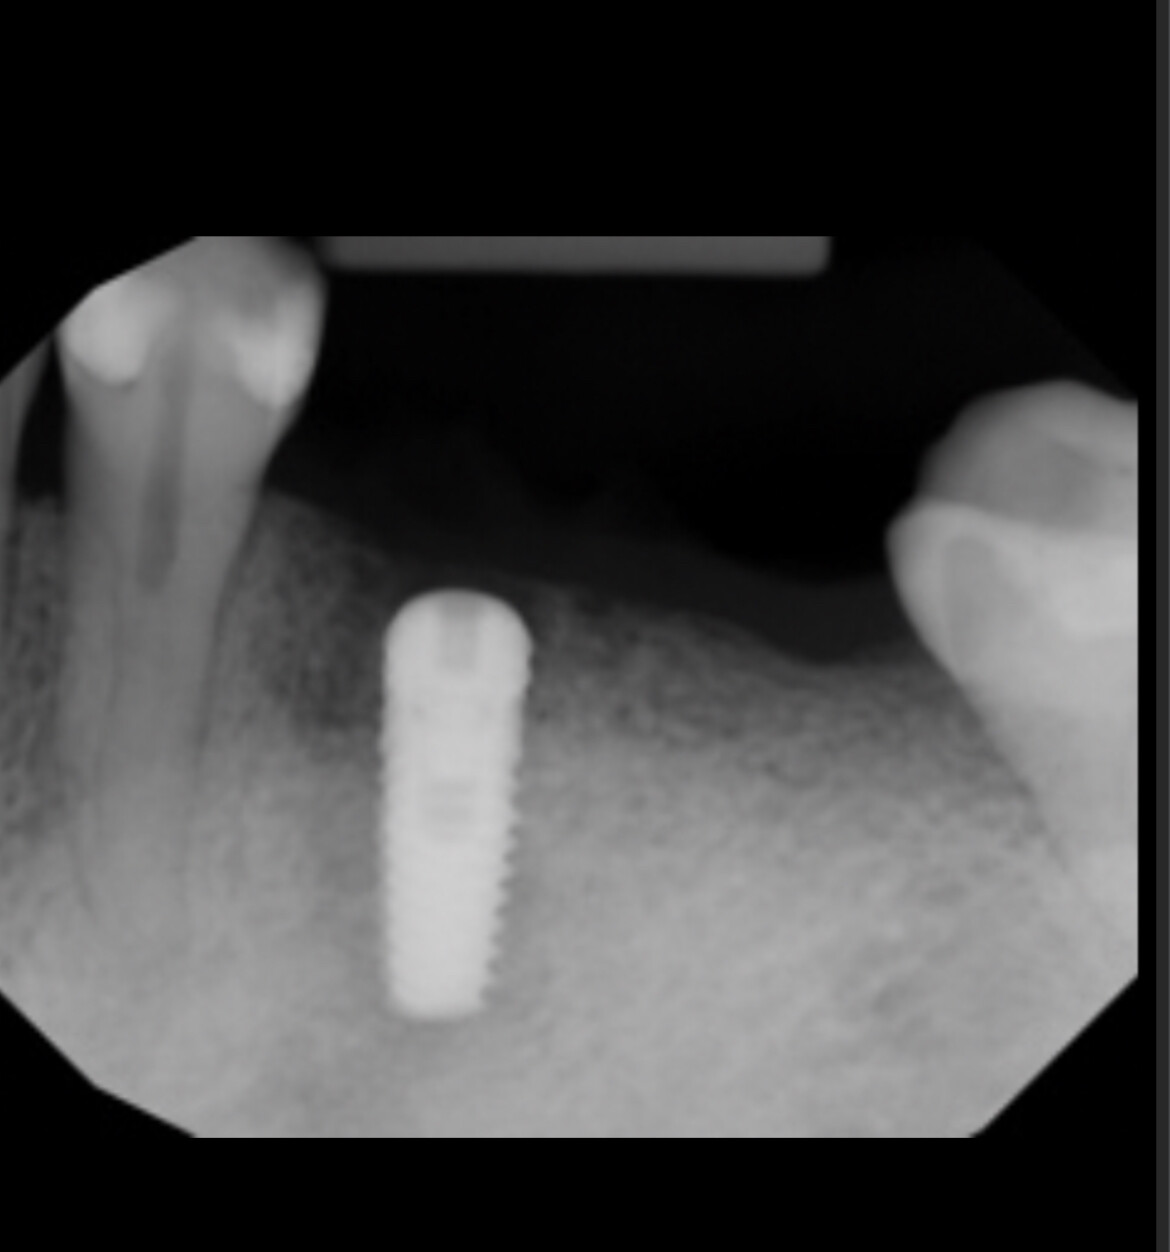
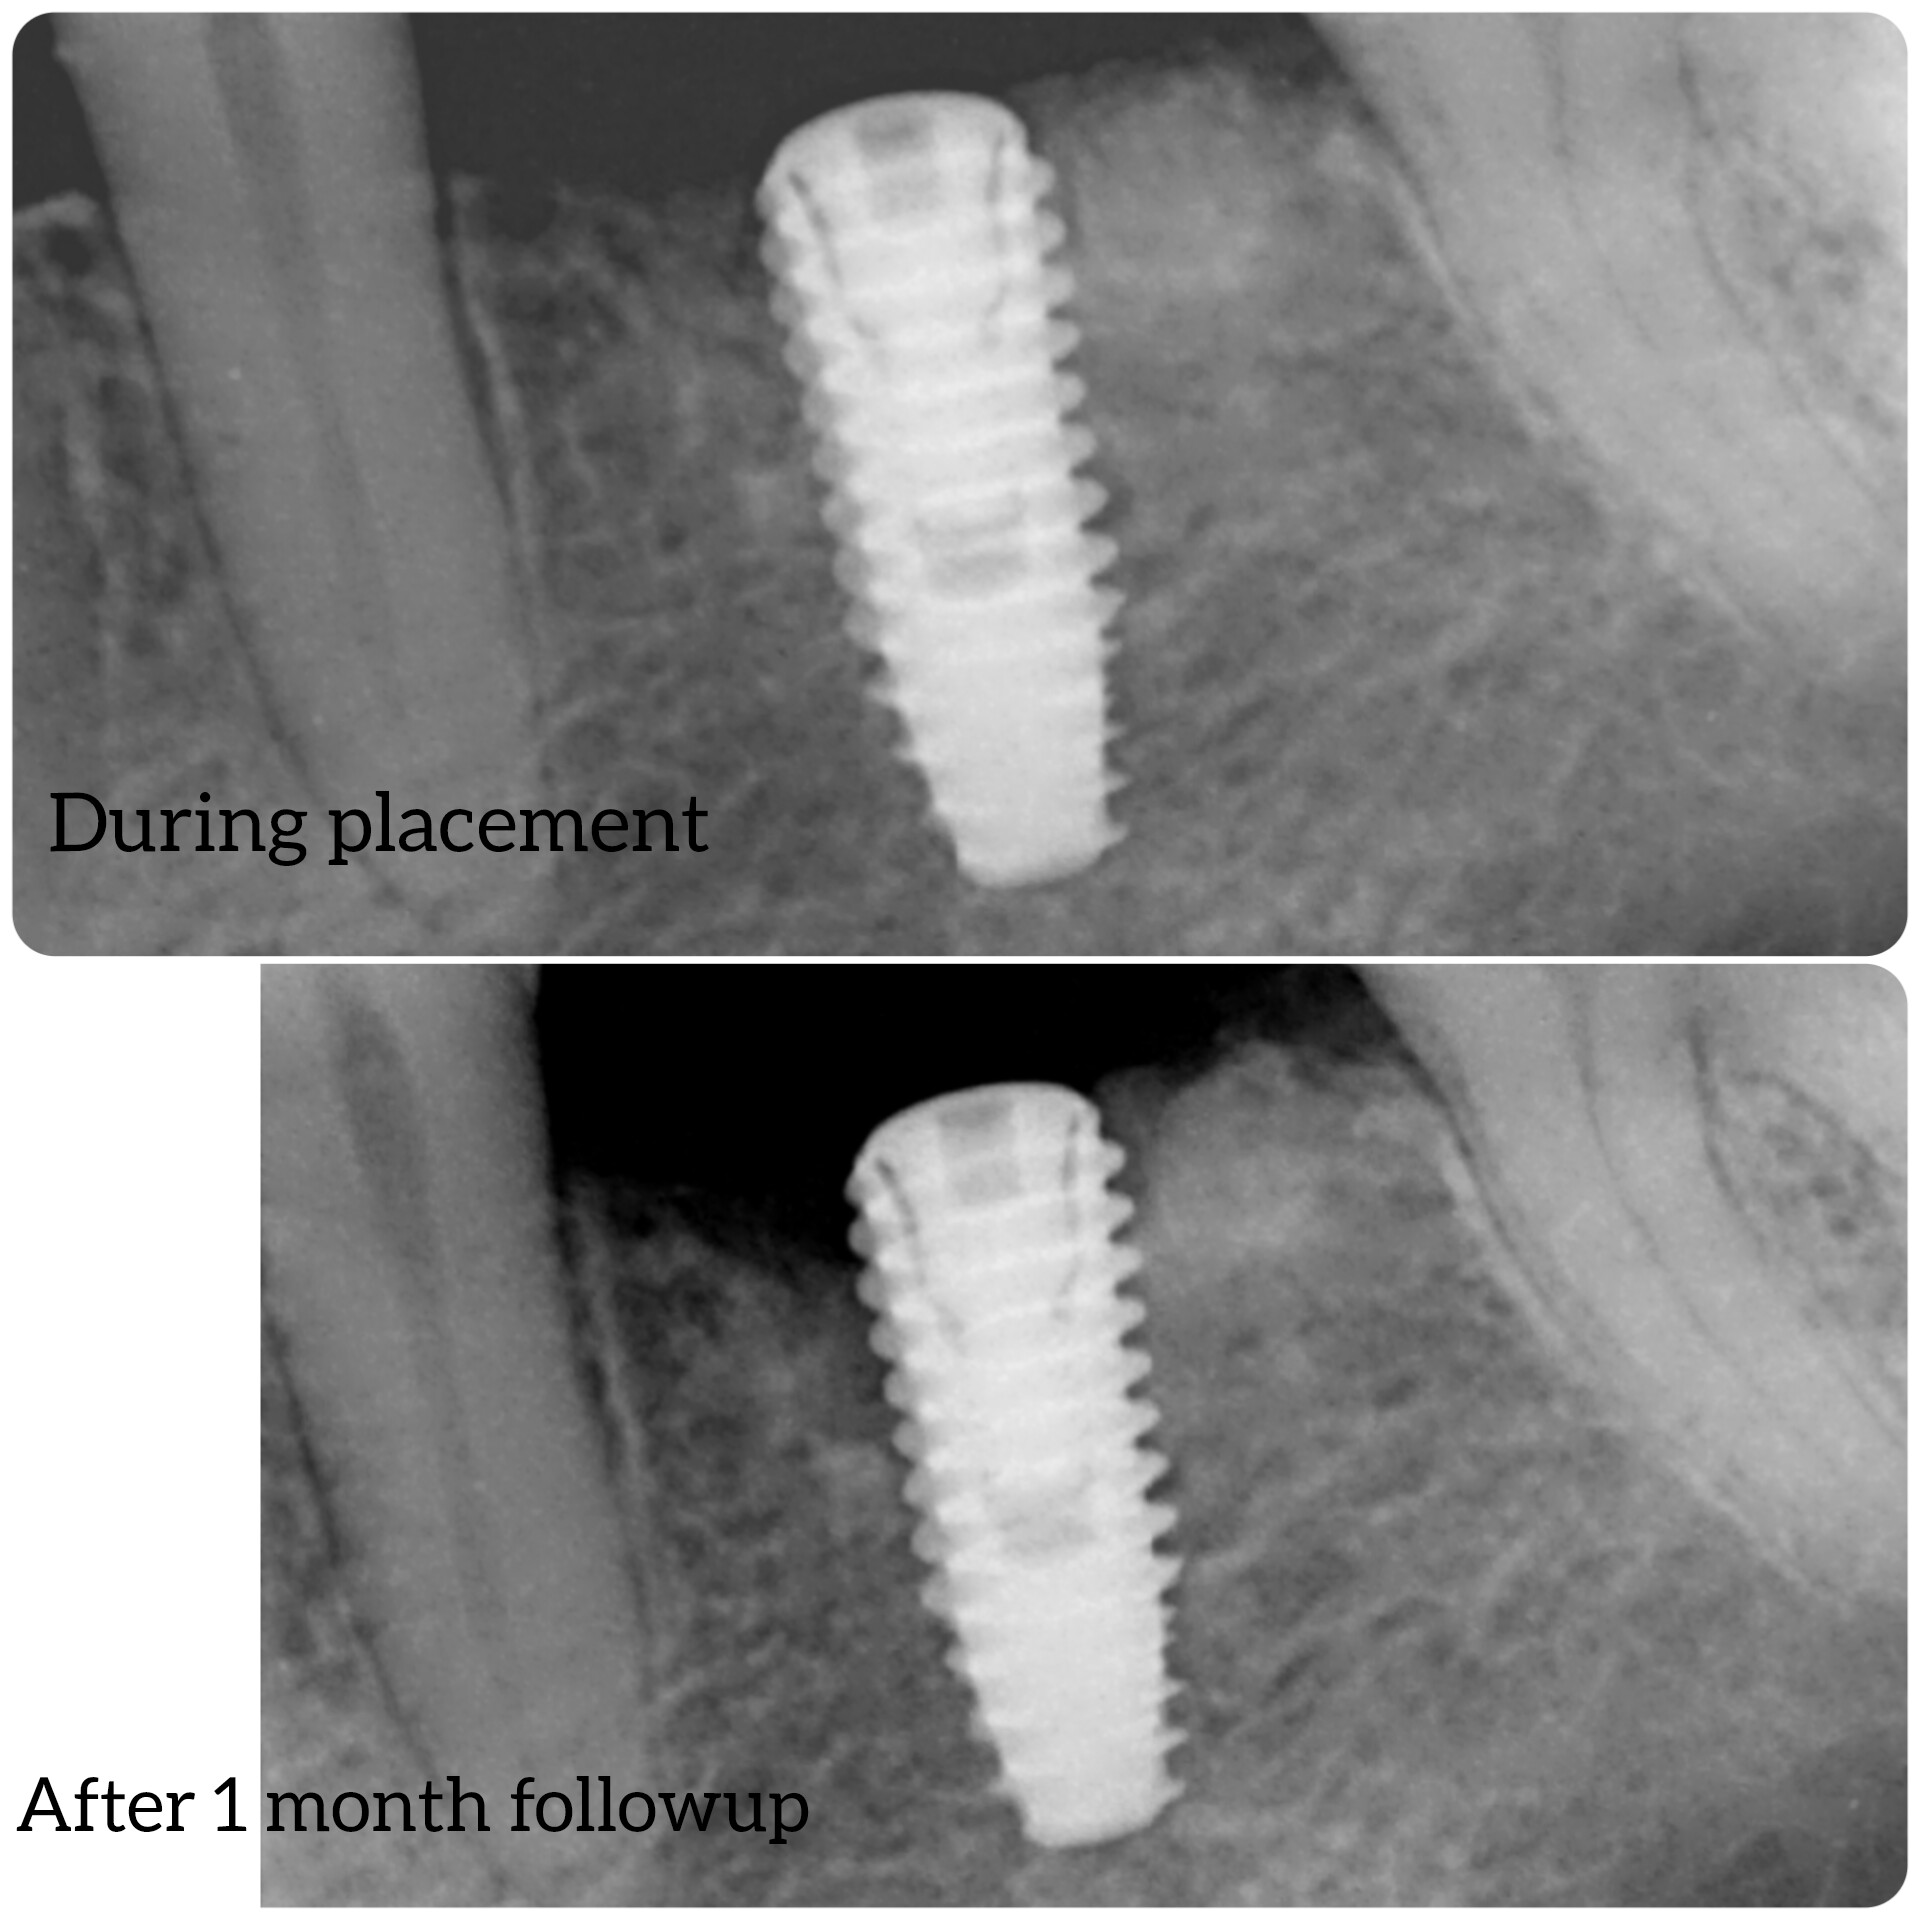
I installed a Bicon 5×5 mm short implant at #20 position [mandibular right second premolar; 45]. I achieved primary stability. However, since the patient has a very narrow alveolar ridge with caved in buccal plate, I tried to avoid penetrating the buccal plate by angulating the bur, but ended up close to the lingual plate. I did osteotomy to 7 mm with 5.0 mm drill, but still was not able to tap down to the bottom of osteotomy which is 7 mm. I can see space at the bottom of implant on post-operatve periapical radiograph. Intra-orally, I can see the implant’s tapped shoulder. It is supracrestal or at best is level with the crestal bone. On the buccal there is about 2 mm of cortical bone, but very thin cortical bone on the lingual. I placed abundant autogenous bone on the buccal, lingual and above the alveolar crest. I was able to achieve primary closure.

Can any one shed some light on what will be chance of success of this implant? Also since Bicon surgical protocol did not place membrane over autogenous bone when they close up the placement. Wonder if I need membrane or not in this situation? If no membrane, what is the chance of bone graft success? I appreciate any input.

8 Comments on Bicon implant supracrestal: what is the outcome?

New comments are currently closed for this post.
Don Rothenberg
12/30/2014
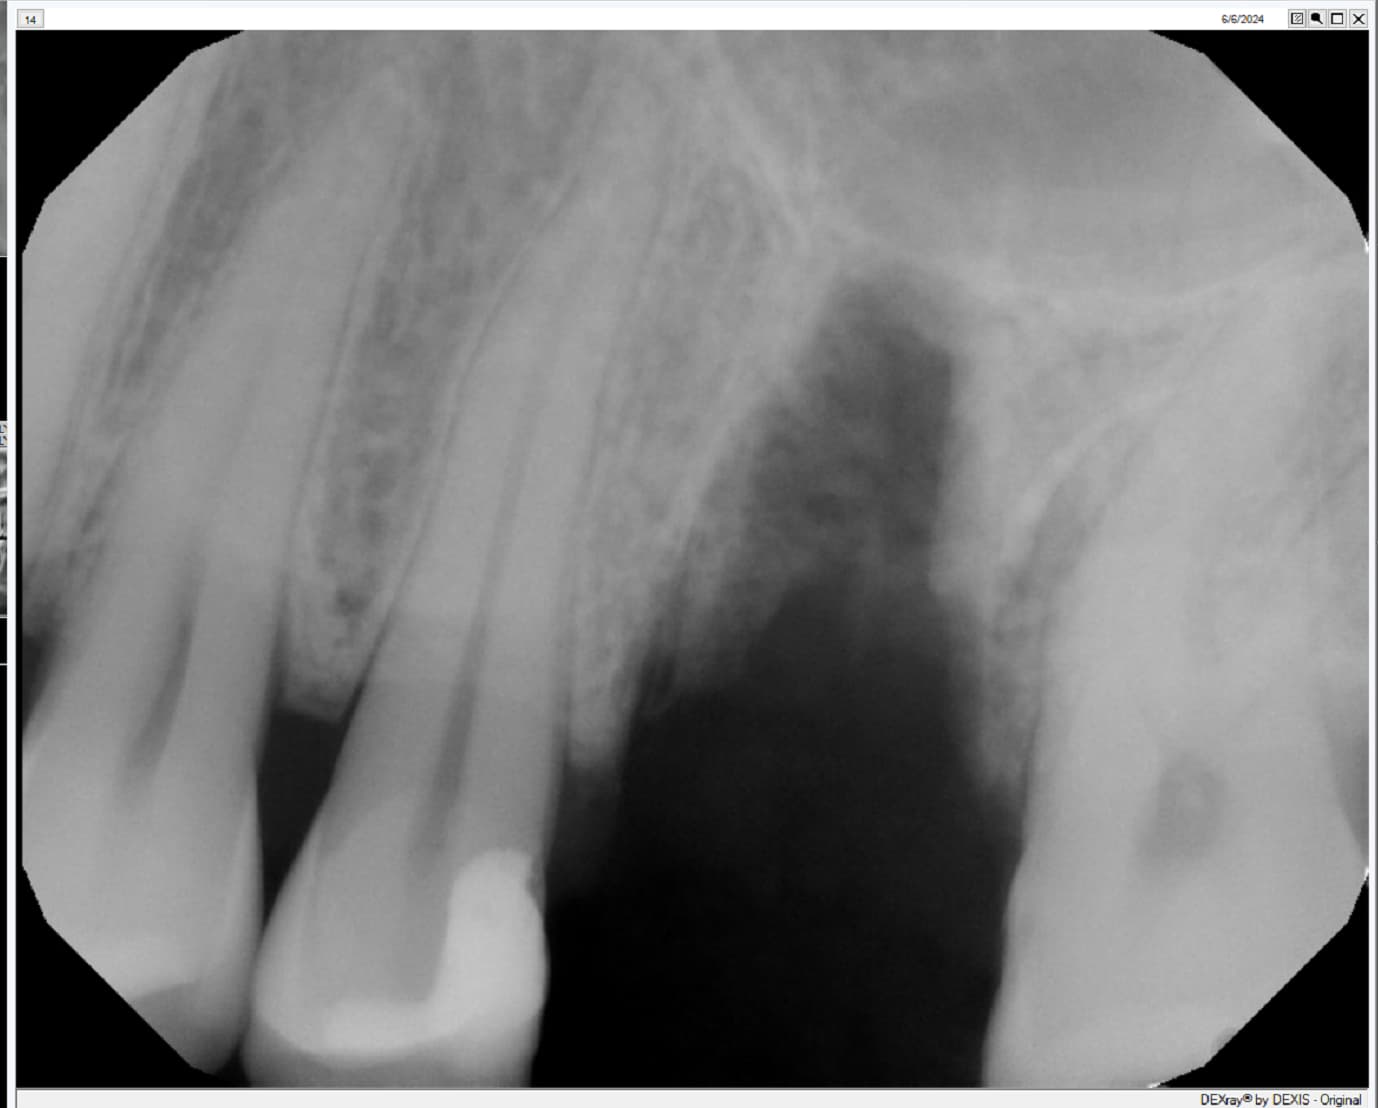
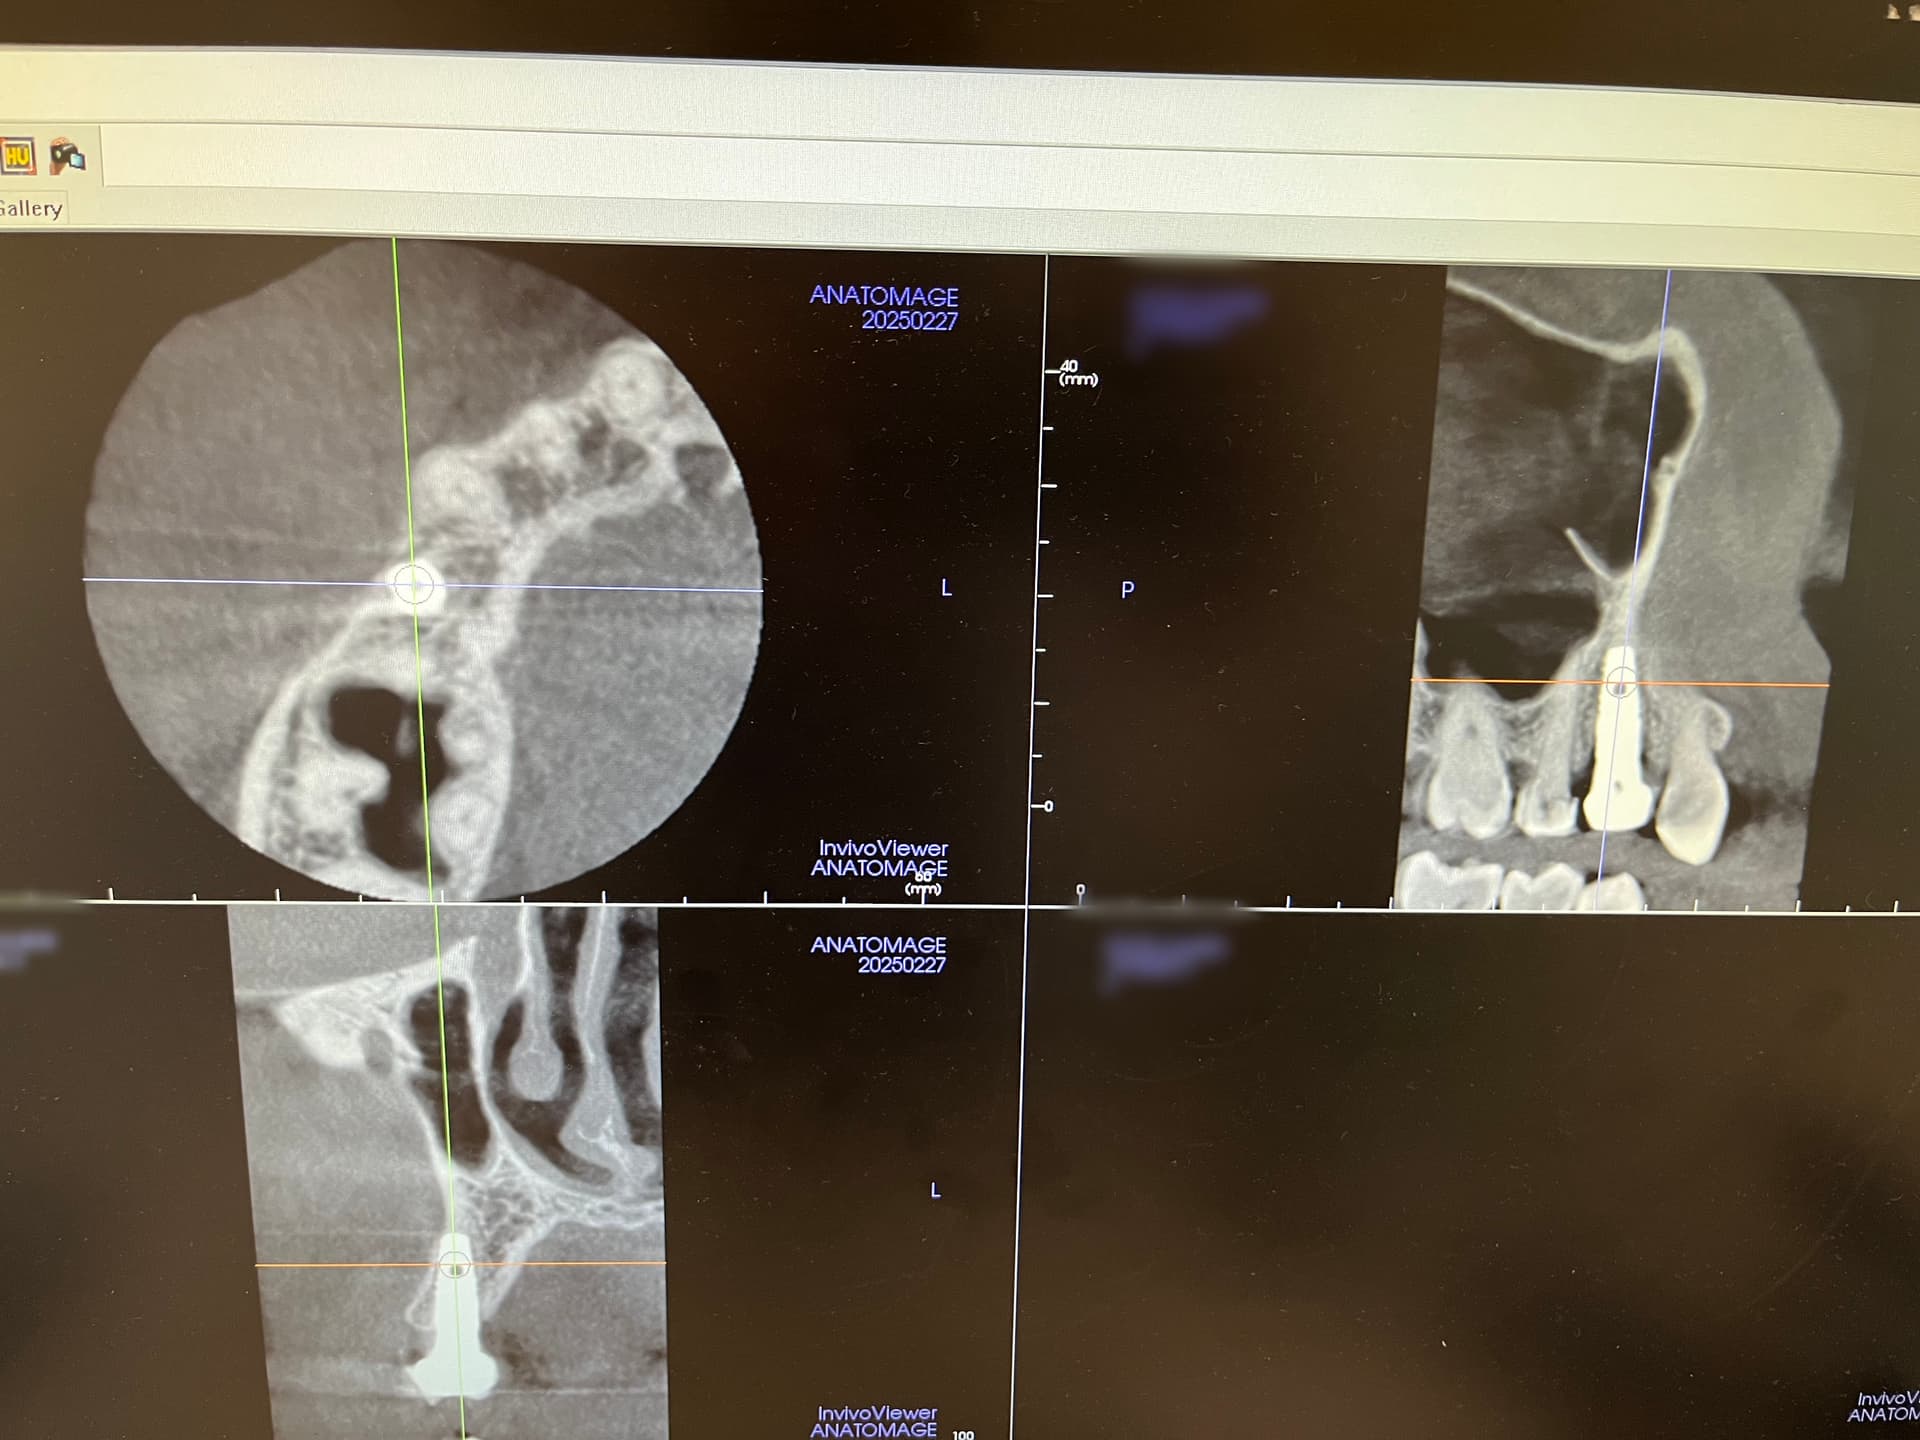
It would be nice to see a few X-rays. I suspect that you did not take a X-ray with a guide pin before placing the implant. The Bicon implant should be ideally placed 1-2mm below the crest of the ridge. I would suspect that you did not reach 7mm with the osteotomy drill. I also am not sure why you used a 5mm diameter implant if you had a "very narrow ridge"...you could have chosen a 4 x 5mm, 4 x 6mm, 4.5 x 6mm. You need to make sure the osteotomy is what you actually want...by drilling 2-3 times with last reamer, which I prefer to do by hand to get a good fit for primary stability. Not to worry though...with only the shoulder exposed the patient should be fine. I would not suggest removing the implant at this time. Question...Was this your first time using the Bicon System? Hope this helps!
Carlos Boudet, DDS
12/30/2014
The correct thing to do was to remove the implant and modify the osteotomy to allow you to place the implant at the proper depth. If you have adequate bone on the buccal, and the implant does not have enough bone on the lingual, but the implant was placed in the correct emergence prosthetically, then you needed to flatten the crest of the ridge some more to get enough width of bone to adequately encase the implant in bone. What will happen is that the deficient lingual bone will die back as a result of the implant eliminating the blood supply to the thin lingual cortical bone and with time that part of the implant will be exposed, no matter how much particulate bone you placed there. I don't place Bicon, but I believe their protocol uses subcrestal placement. If you recently placed this I would suggest removing it and try again. I hope this helps and good luck!
jihad abdallah
1/7/2015
If you drilled to 7 mm with the 5 mm latch reamer you should have been able to submerge your implant unless you didn't tap the implant in the long axis of drilling. You could have avoided this by placing the implant with the implant inserter found in the bacon surgical kit. Anyway do nothing now as most probably the implant will integrate although the extra bone placed vertically will be washed out. Always in circumstances where you need to vertically augment you should use a rigid membrane to protect your graft and maintain it in the right place. With bacon implant you don't have to use a membrane if you properly place the implant in bone. If there was no other reason for failure, I assure you from experience that your implant will integrate and you will successfully load it. Best of luck with your future implants wishing that I could be of a help. Regards.
Prof. Tarek Abdelsamad
1/7/2015
Hi. I agree with My friend Dr. Jihad. No problem happened with me in a case like that. I think in your case you missed tapping over implant. This step helps correct initial placement with primary stability. Regards
John L Manuel, DDS
1/13/2015
It's easy to have some bone chips, etc., residing in the bottom of the implant preparation. One needs to pick these out with the large curettes after each reamer prep, or the implant will not fully seat. Of course, initial progress x-Ray of guide pin depth/position is a must. To avoid surprises, do what Dr Rothenberg recommends and always do a trial run using one of the dummy expansion plugs from Bicon before even opening the final implant. Have 2-3 alternate implant sizes handy.. Each expansion plug is pretty close to the final implant shape and you can see exactly how your intended implant will sit in the preparation. You can even take an x-Ray to validate the position of the test plug. After all this, calmly and confidently and gently place your final implant into you clean, accurate preparation. You will save stress, sleep well, and have happy patients!
Julie
1/13/2015
Thank you Dr. Manuel for your suggestion. What is the catalog name of "dummy expansion plugs from Bicon"? And how to take it out after trial placement in osteotomy?
John Manuel, DDS
1/14/2015
As you might guess, they aren't referred to as "dummy" expansion plugs... I was just trying to convey that, although they are designed to compress bone and expand smaller preparations, one can use them as "dummies", like trial points in endodontics, to confirm the fit. Catalog #101-123 in our old Bicon Catalog, they are called: "Bone Expansion Set". One can purchase them individually also. The bone expanders screw into the straight and elbowed long handles as well as the small thumb screw wheels which come in most Bicon Surgical Kits. My general advice is to avoid or minimize tapping or hammering on the implants or implant inserters since one loses predictability. More gentle, light tapping on these blank plugs will compress less dense bone and provide a bit of expansion per plug. Being gentle pays off. If one is working in a very tight space, requiring precision implant installation, say like the 5mm diameter implant body in a small ridge, there is great benefit in placing a 4.0 or 4.5 Expansion Plug into the prep as it is enlarged by reamers. X-rays can confirm the position and fit and one may opt for the smaller implant body if it appears less invasive and better suited to the site.
John Manuel, DDS
1/14/2015
Please note - I am not saying to expand the boney preparations on a routine basis. Bicon's courses tell you when that is indicated. What I am advocating is placing the same sized Bone Expander as the Reamer, by hand, without tapping, after cleaning out the bone chips, etc., to see how the final Implant Body would sit in your bone preparation.

Featured Products

OsteoGen Bone Grafting Plug
Combines bone graft with a collagen plug to yield the easiest and most affordable way to clinically deliver bone graft for socket preservation.
CevOss Bovine Bone Graft
Make the switch to a better xenograft! High volume of interconnected pores promotes new bone. Substantially equivalent to BioOss and NuOss.