Case Report: Tooth extractions followed by immediate implant placement and immediate loading in the mandible
Technology: Immediate Smile® bridge: CAD/CAM restorations for immediate loading – Learn More at: SimPlant Go
Case By: by Dr. Dominik Muylaert and Dr. Jan Neven
![]](https://osseonews.nyc3.cdn.digitaloceanspaces.com/wp-content/uploads/2012/09/docsmuy-thumb.png)
“Because of the self aligning occlusion the restorative procedure is reduced tremendously.”
“We can now convert our implant and prosthetic planning into a CAD CAM restoration, wonderful!”
Case Photos and Descriptions
All Photos: Click image for larger view.
All Descriptions: Read for Photos from left to right.
![]Pre Op View](https://osseonews.nyc3.cdn.digitaloceanspaces.com/wp-content/uploads/2012/09/muy1a.png)
1. Pre-operative view: removable upper jaw denture and removable lower jaw denture. Lower incisors are lost because of decay and peri-apical infections.
2. A bite index was prepared to allow correct positioning of the prosthesis during the CBCT scan.
3. Removable lower denture converted into a scan prosthesis by gluing Dual Scan Markers on the surface.
4. Removable upper denture converted into a scan prosthesis. This procedure allows for a cost effective integration of the prosthetic information into SimPlant.
![]Planning with Simplant](https://osseonews.nyc3.cdn.digitaloceanspaces.com/wp-content/uploads/2012/09/muy2.png)
5. Planning with SimPlant Pro. The DICOM data of the scan prosthesis was integrated automatically with the Dual Scan Module. A separate 3D model was created from the remaining teeth.
6. All remaining teeth are extracted digitally.
7. Prosthetic planning in SimPlant based on the upper and lower denture. The crowns are elongated to compensate for the bone reduction that will be performed after implant placement.
8. Implant planning based on the virtual set-up. The final abutments are planned for a screw retained multiple-unit bridge.
![]CAD CAM](https://osseonews.nyc3.cdn.digitaloceanspaces.com/wp-content/uploads/2012/09/muy3.png)
9. CAD/CAM-milled Immediate Smile bridge. The restoration is slightly oversized compared to the temporary cylinders selected during ordering in the online shop.
10. At each implant location a small injection hole is made. The temporary cylinders are secured onto the bridge by injecting SmartCem2 composite cement.
11. All remaining teeth are extracted.
12. A bone-supported Facilitate SAFE SurgiGuide is fixated on the bone.
![]Drilling](https://osseonews.nyc3.cdn.digitaloceanspaces.com/wp-content/uploads/2012/09/muy4.png)
13-14. Drilling procedure using the Facilitate surgical kit. The SAFE SurgiGuide controls position, angulation and depth of the drill.
15-16. Implant placement through the SurgiGuide using Facilitate implant holders to allow for accurate implant placement with depth control.
![]clinical](https://osseonews.nyc3.cdn.digitaloceanspaces.com/wp-content/uploads/2012/09/muy5.png)
17. Clinical view after placement of all implants. The bone will be reshaped.
18. Placement of the planned final abutments.
19. Clinical view after reshaping the alveolar ridge and filling of the extraction socket with the harvested bone.
20. Try-in of the CAM CAD restoration. Only one temporary cylinder was placed in the mouth, all other cylinders were placed inside the bridge to compensate for the differences in angulation.
![]](https://osseonews.nyc3.cdn.digitaloceanspaces.com/wp-content/uploads/2012/09/muyfinal.png)
21. None of the cylinders are secured onto the bridge yet! This allows for a self aligning occlusion with the opposing jaw. A composite cement is injected into the small holes to secure the cylinders when the patient is closed in maximal occlusion.
22. Finishing of the bridge outside the patient’s mouth.
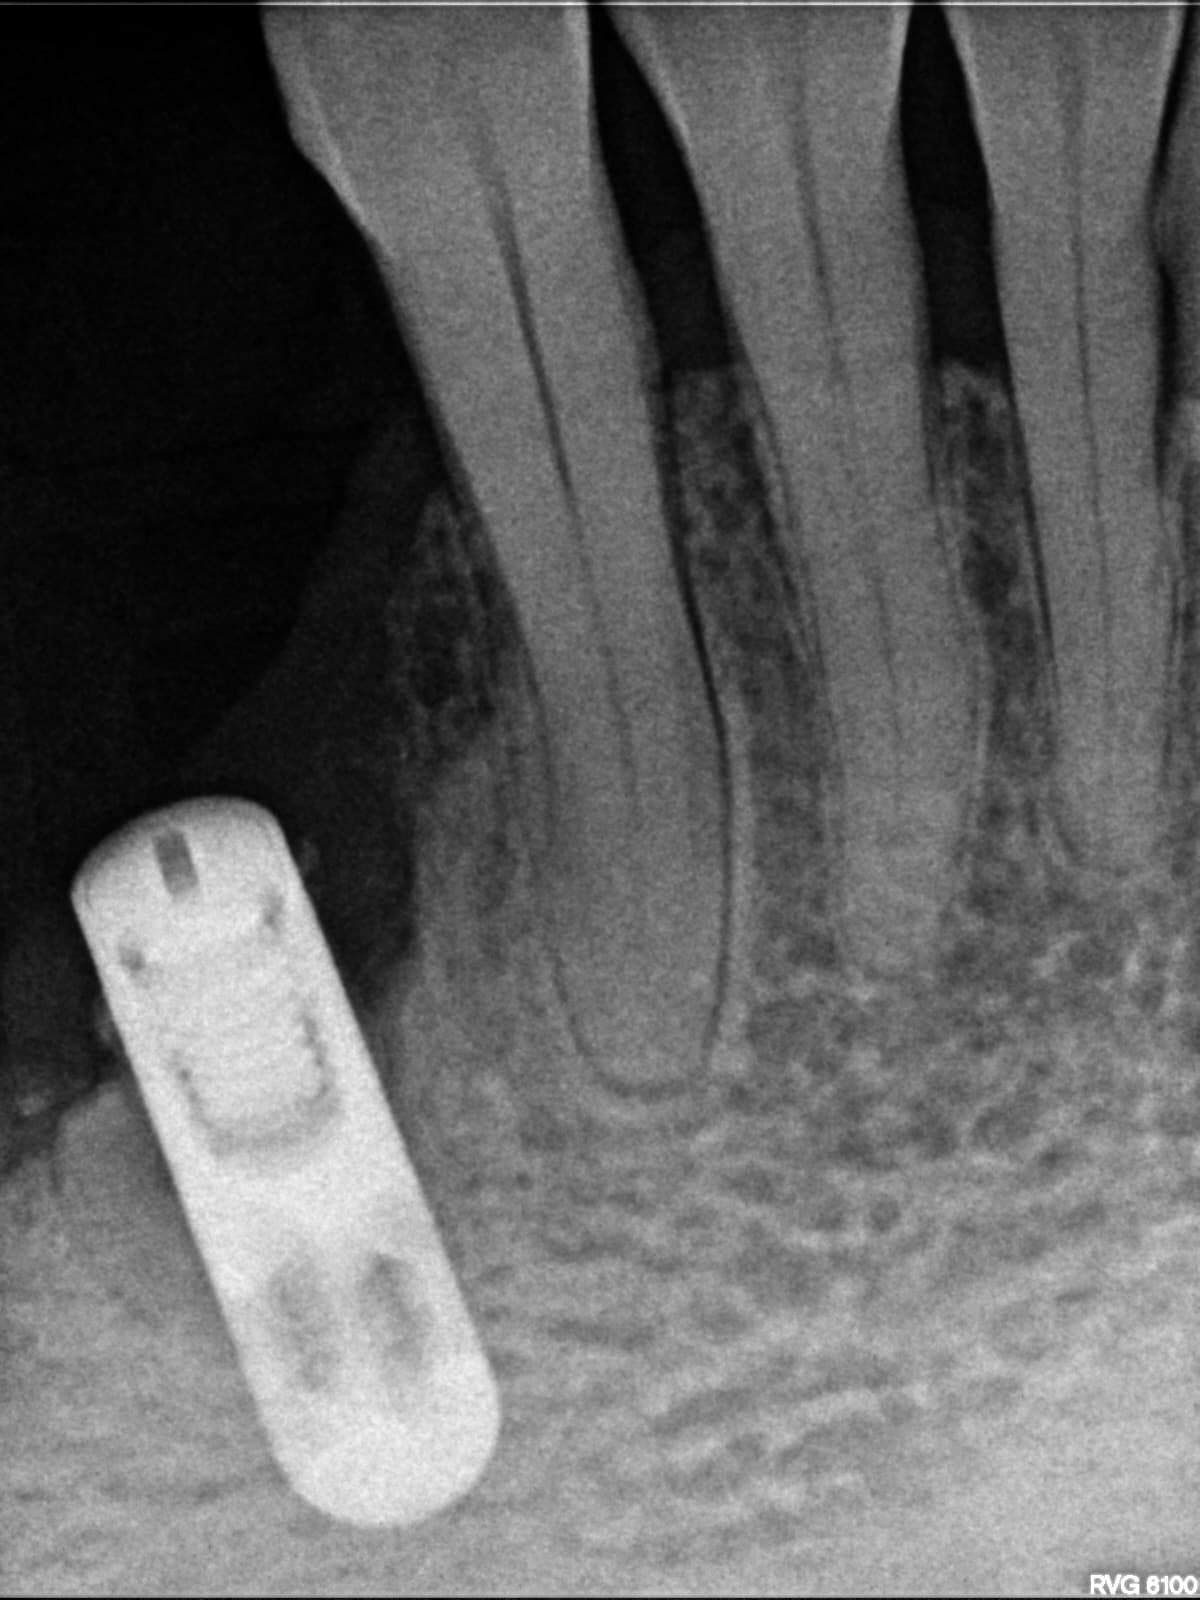
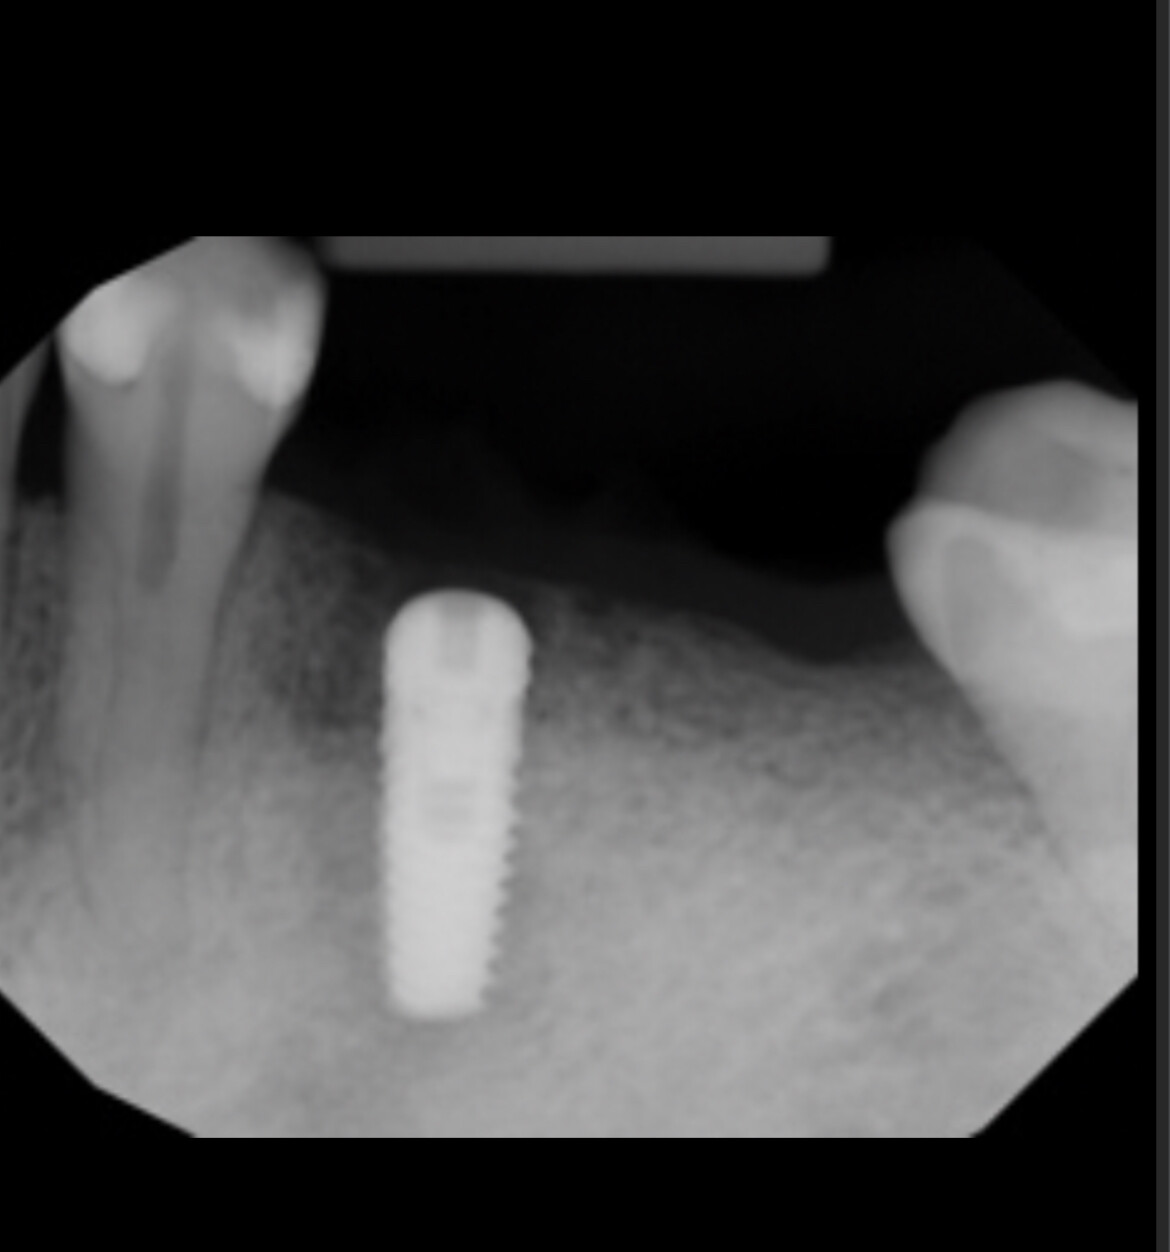
23-24. Clinical view one week post operative and peri-apical X-rays after 3 months healing period.
Case Submitted by:
![]Simplant Go](http://www.simplantgo.com/)

