Misangled Dental Implants: Recommendations for Fixing My Impression Coping Problem?
Dr. K. asks:
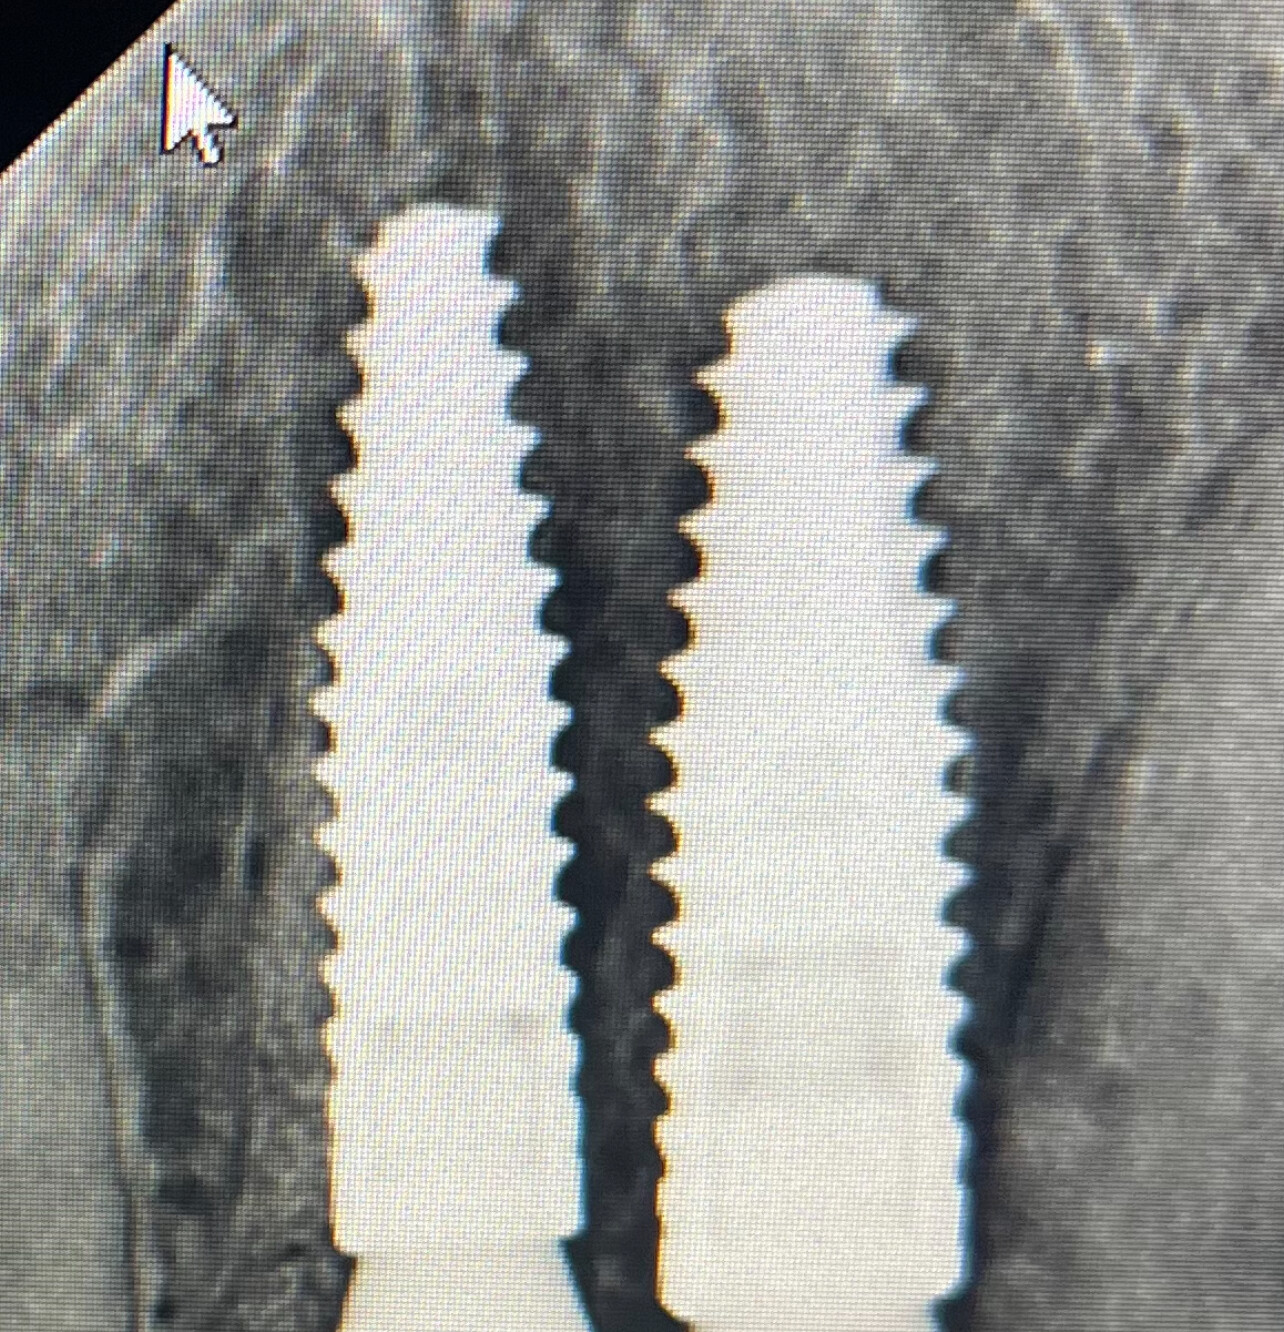
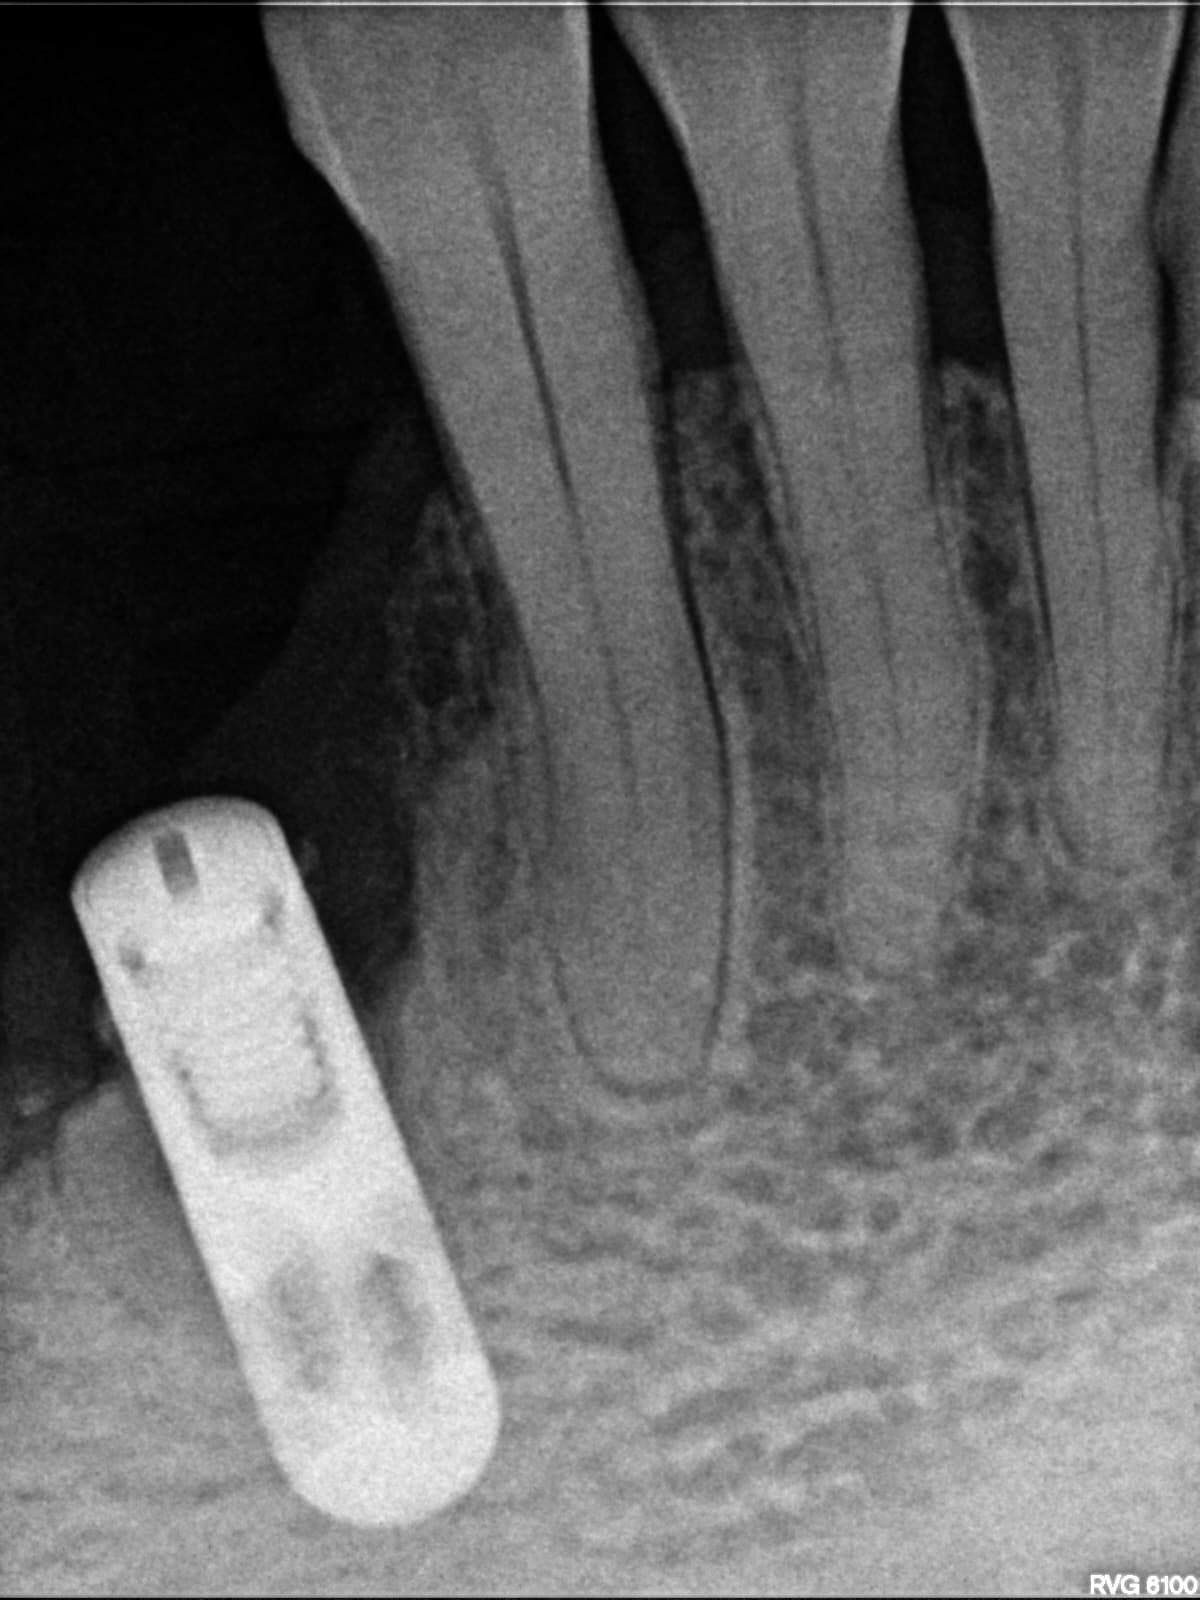
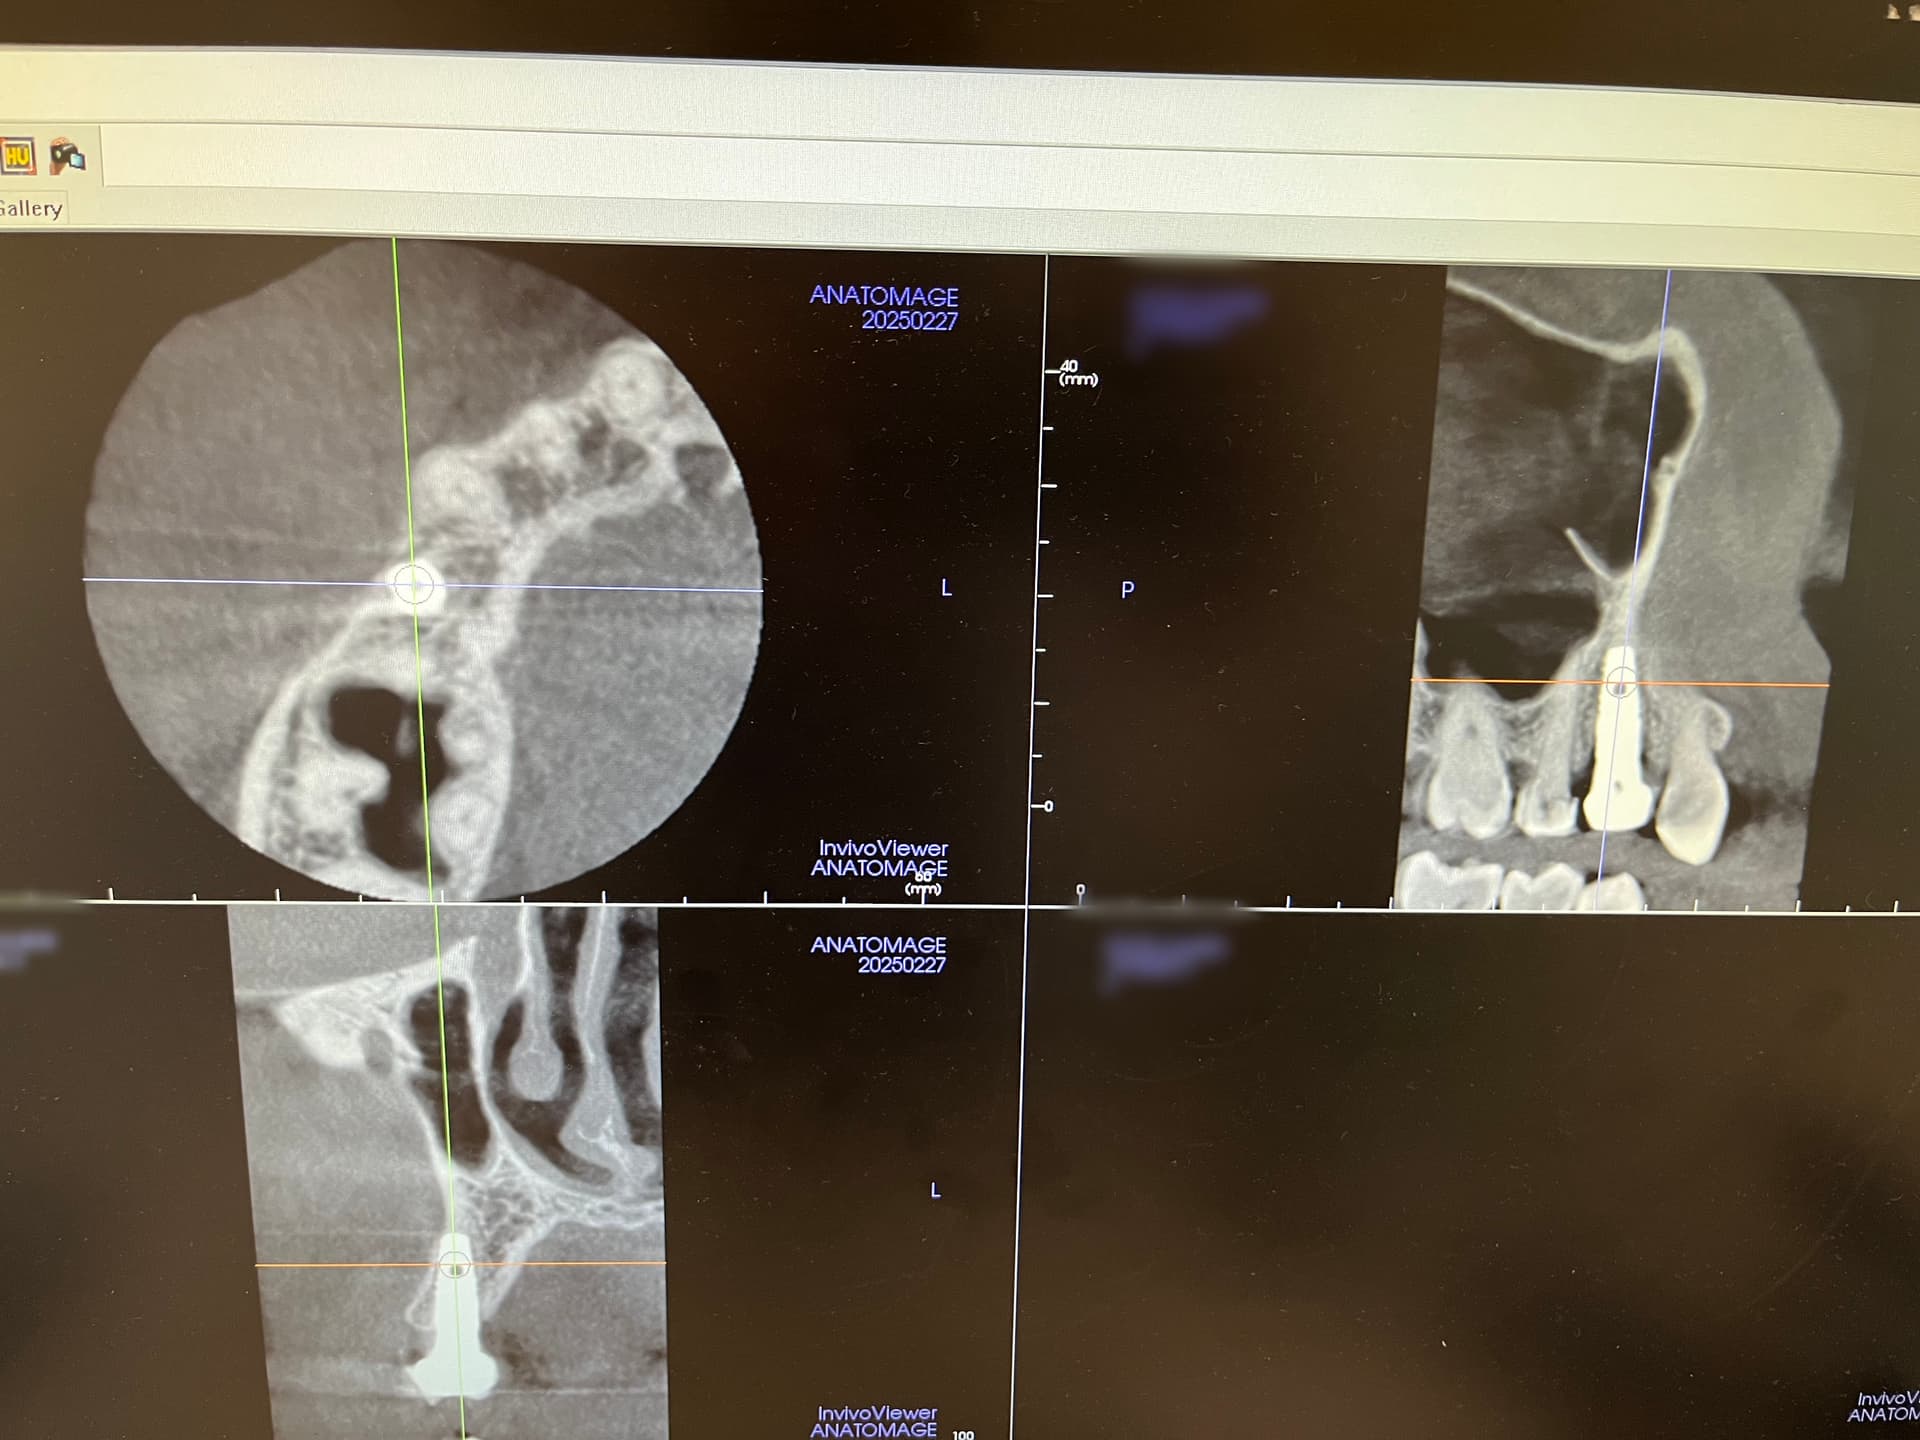
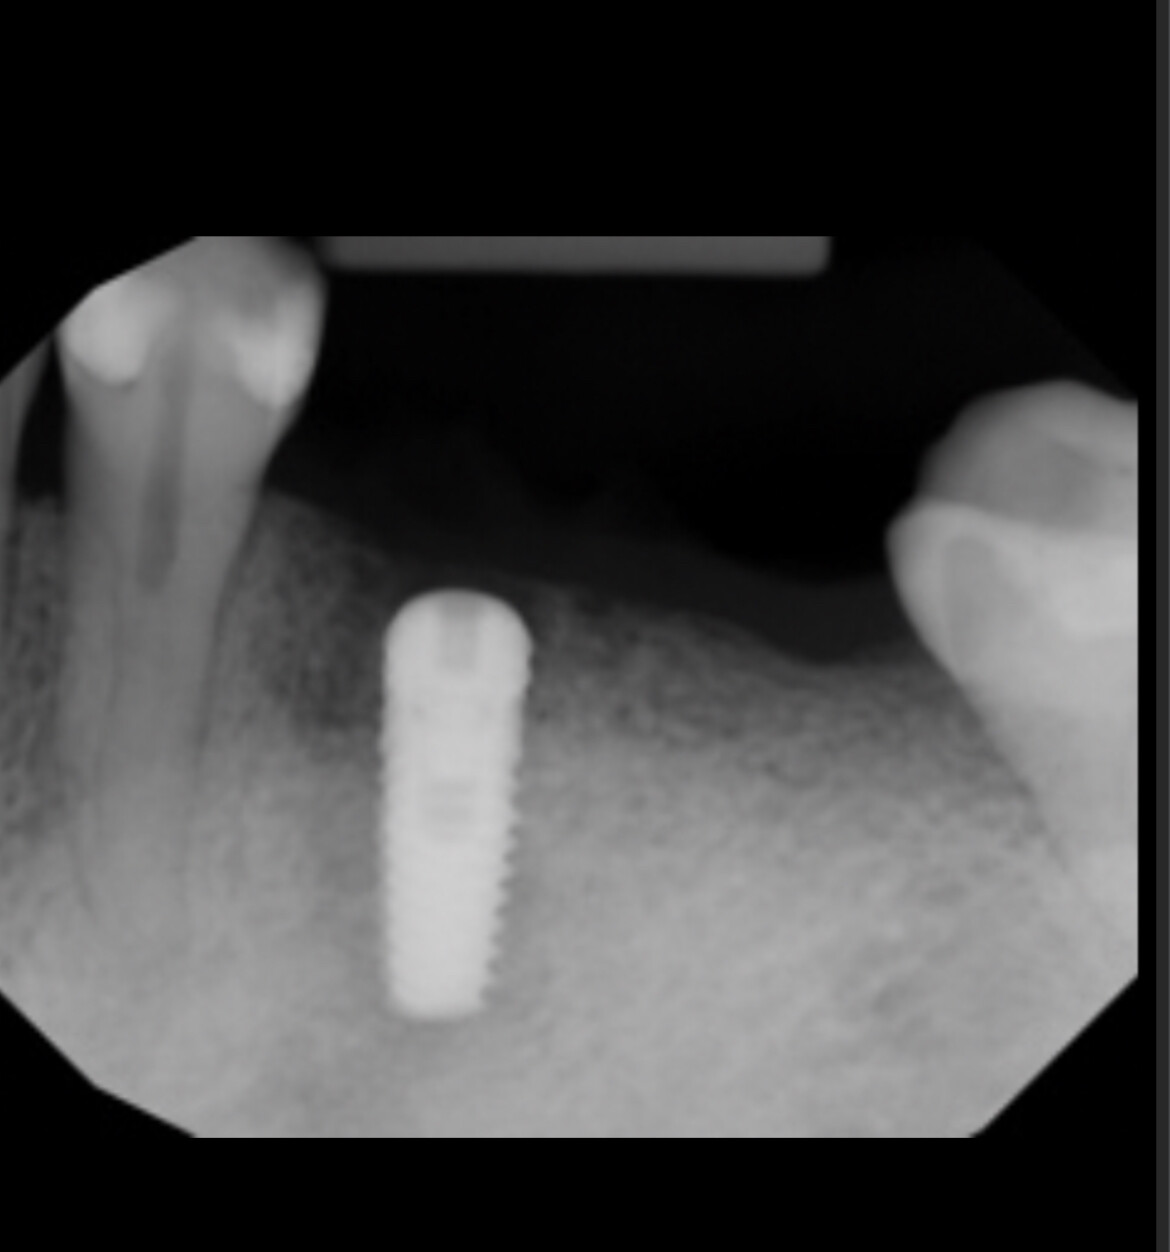
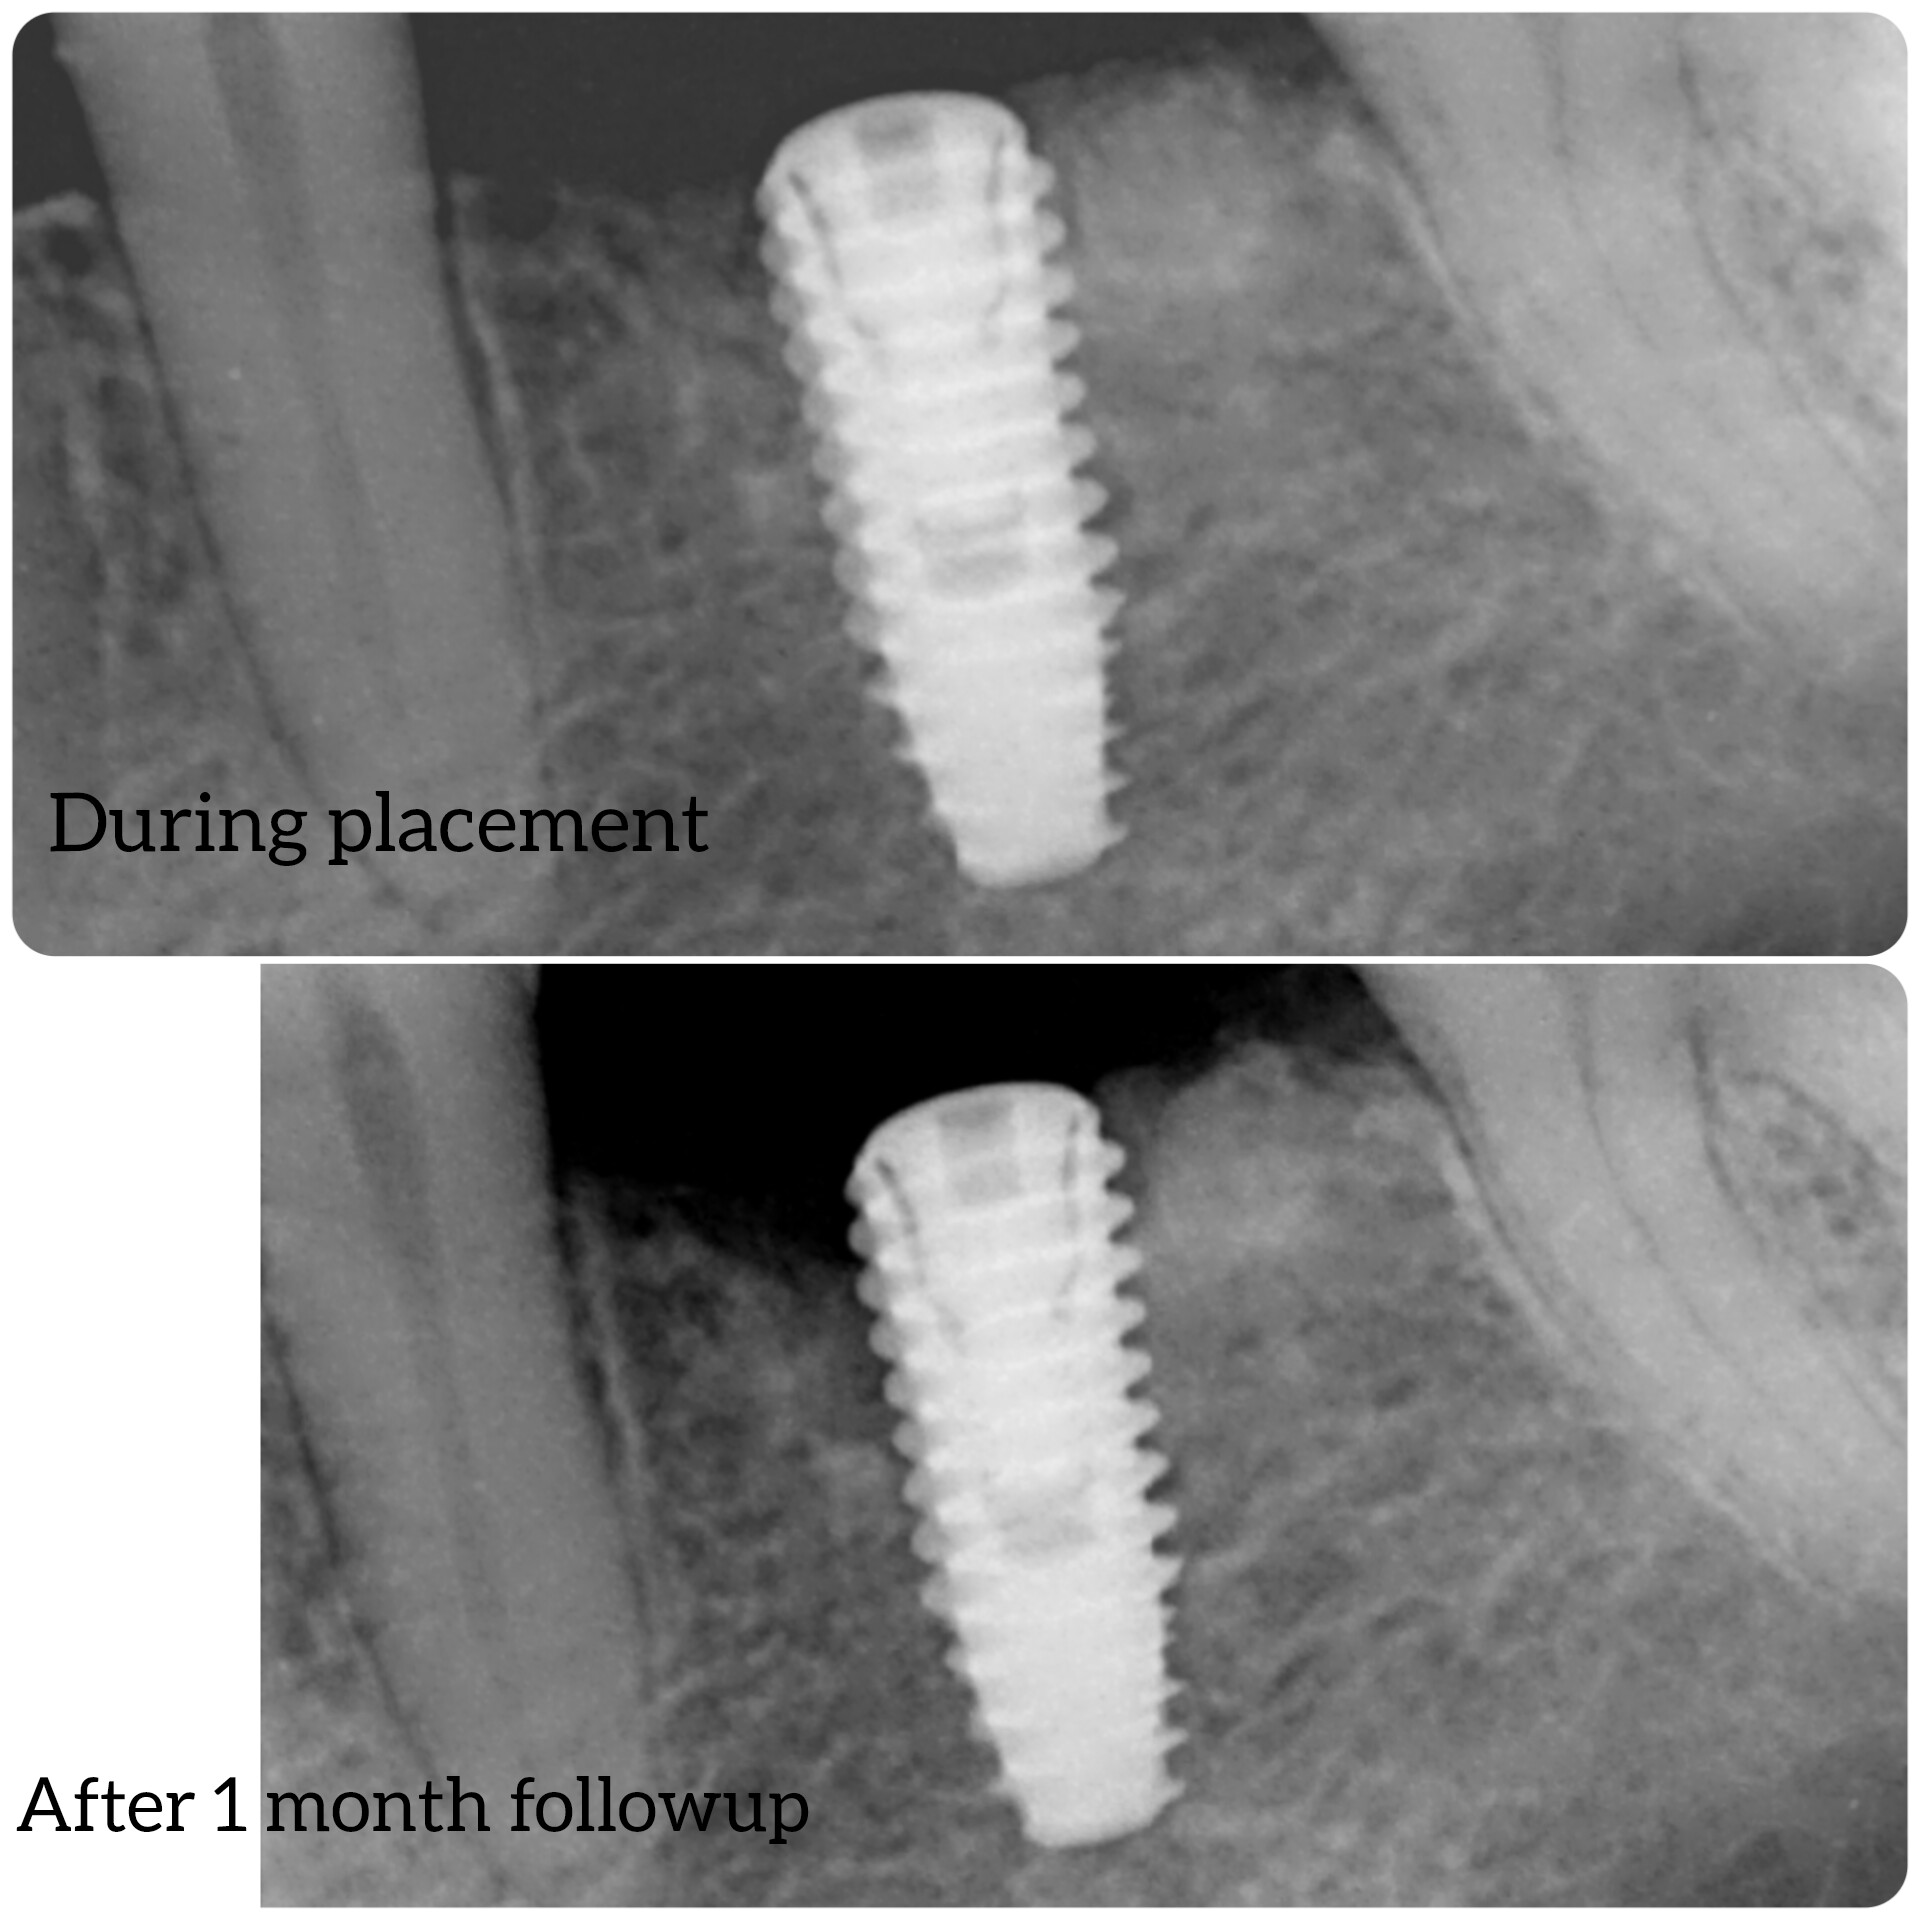
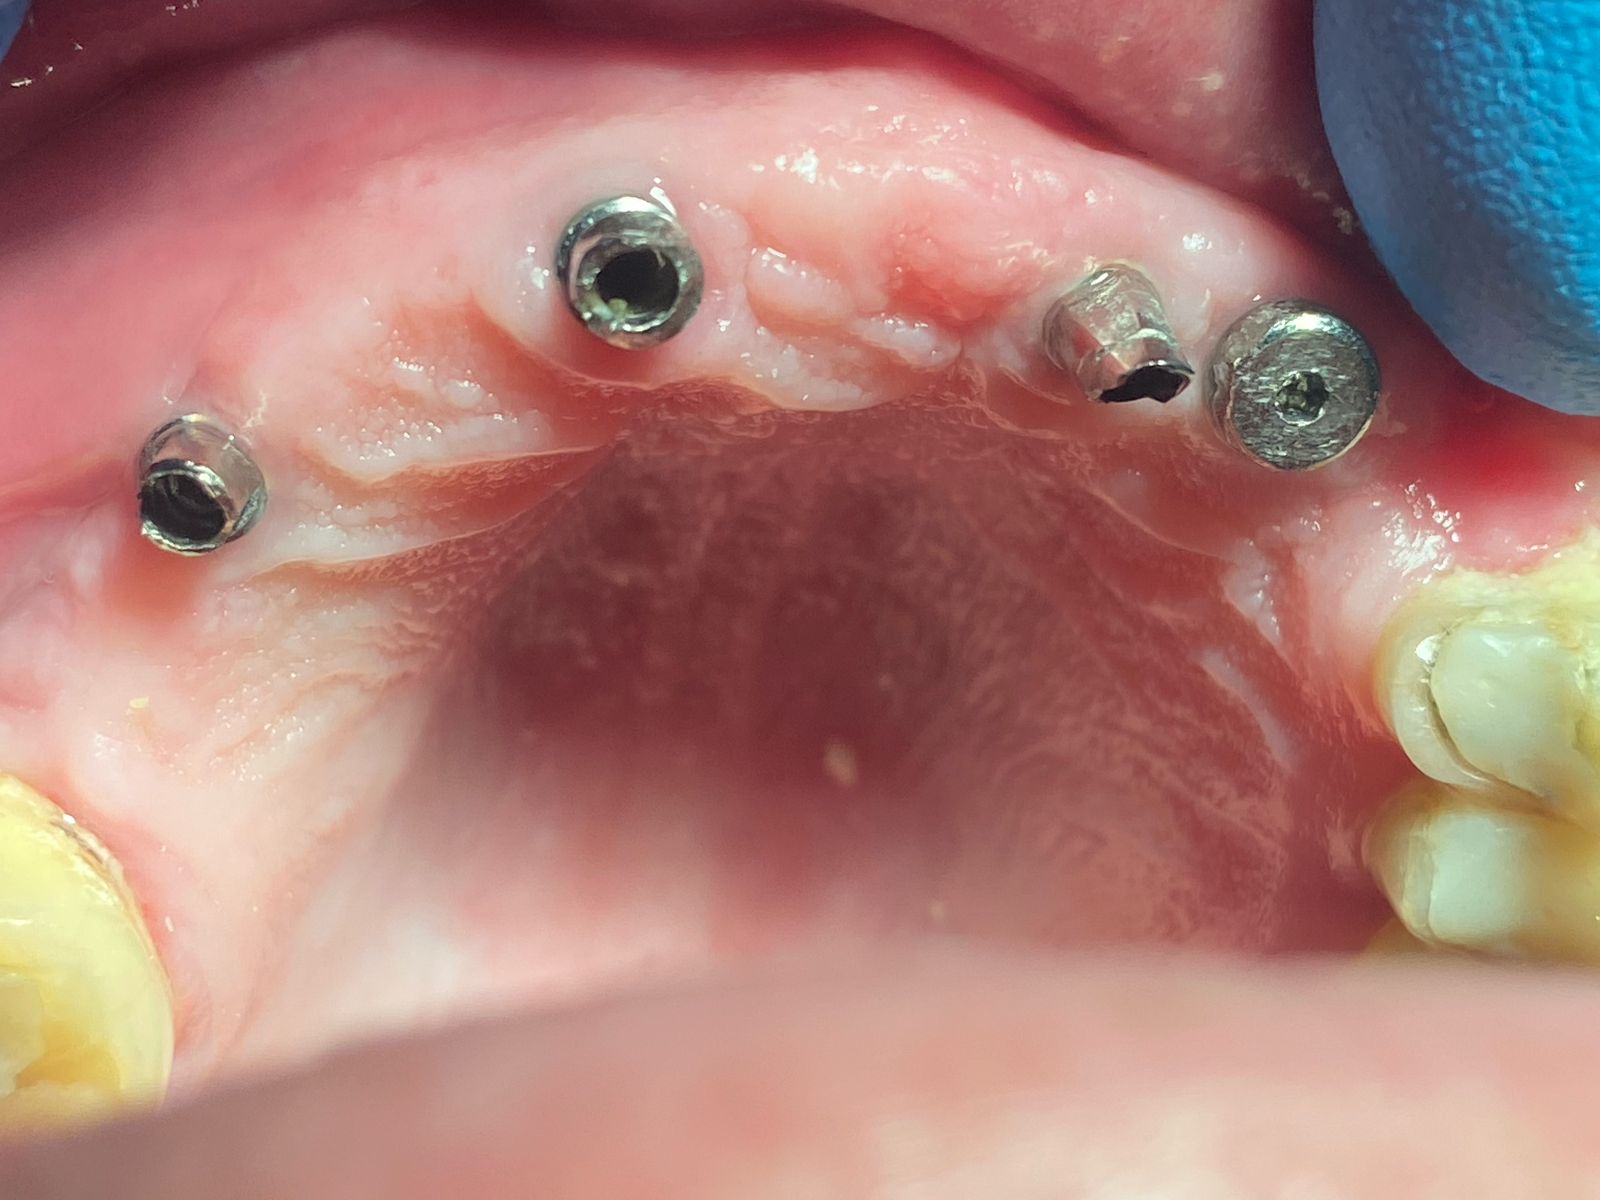
I installed implants in #31 and 30 areas [mandibular right second molar and first molar; 47, 46] in an edentulous alveolar ridge. Unfortunately the implants are angled so they converge – the long axes of the implant fixtures are convergent just above the alveolar ridge. I will not be able to fit the standard impression copings on the implants because of the convergence. The impression copings will collide. How will I be able to make a fixed partial denture that I will be able to fit on these convergent implants? Will I be able to correct for the convergence with custom abutments for either screw or cement retention? What do you recommend that I do at this point?
27 Comments on Misangled Dental Implants: Recommendations for Fixing My Impression Coping Problem?
New comments are currently closed for this post.
OMS resident
7/11/2011
I know this is not part of your question, but out of curiosity I have to ask; how did you end up with implants this misangled?
And before all you guys start criticizing me for asking this question, remember that I am a tired resident just about to finish my call..
TOBooth BDS Hons MSc (OMF
7/11/2011
Hi,
you know what it might not be that misaligned!
Also it happens to the best of us!
BEst way here is to take individual open tray fixture head imps i.e
1) One imp of the 47
2)One imp of the 46
Get custom abutments made for both on seperate models
then get the metal work made for the metaloceramic crowns right up to the finish line of teh abutment so no porcelain can be added right at teh margin.
Then place abutments torque down to whatever value and try copings on if ok then dry abutements and coping place a little temp bond in the coping onto the abutments and then pick up imp of both copings!
Or buy soem angled pick ups which i dont think woudl work
or buy stock abutments and prep and do a impression like normal crown and bridgework-not ideal fits of this though!!
Cheers
mike ainsworth
7/11/2011
It happes to us all, I have had this when doing distal upper quad in a chap with 3 septae in his sinus, decided to place the distal implant into the tuberosity and lift the mesial pocket of the sinus for the first molar.
Best way to approach it is to order the UCLA abutmentas directly. Trim the distal abutment so that the mesial fits just. Refine the space by trimming the mesial on its distal a bit more. then mark the occlusal direction with a line on the abutments with a marker pen. Take the abutments out, paint with a monomer, and build up above the line a blob of duralay (i do a powder adition technique rather than mixing a blob-gives more control). place the abutments back in and prep. best to leave them long ie very much over build, and square rather than round. cut a couple of rings into the duralay for retention. seal the holes, take imp, unscrew, replace in imp, job done! Should add about 20 mins to the process, but if your lab is good you should only need a metal tryin if you are splinting (i have gone straight to fit with this technique)
hope that helps, all the best mike
Pankaj Narkhede, DDS; MDS
7/12/2011
I had a similiar case that was referred to me. I have series of photos that can help you tackle this case.
I cannot send you photos. If you can send me your email address I can send it to you. I did not use UCLA etc. If there is a way to upload the photos let me know. My email is [email protected]
Pankaj Narkhede, DDS, MDS (prostho)
J. K.
7/12/2011
Hi! I am the author! Thank you all for the suggestions! To the first colleague, I just can say I don't know how it gone THAT angled. You're right. Shouldn't have... Still, I believe this is just a complex situation asking for an intelligent answer. There isn't an esthetic problem, no natural teeth in risk, no nerve damage... Just a problem, I wish never happened, but now I need a reasonable, reliable solution... Thank you all! Thank you very much!
dr rao
7/13/2011
for one implant can keep angulated apartment,you can make two implant parelel
Tarek Abdelsamad
7/13/2011
I recieved a case like that and I managed it with correction of the misangled implant by angulated abutment 17 degree angle. Then, I designed a cerec crown to close the space between teeth no. 45 and 46. It works good. Best of luck.
Tarek
Fredrick Shaw DDS
7/13/2011
Order screw retained temporary abutments. Temporize with a restorstion that is a mock-up of the proposed definitive tx with acrylic temporaries. Let the patient wear the temporaries until nxt appt. At that appt make a master impression with the temporaries in place. Remove the screw-retained temporaries from patients mouth and screw the lab analog to them and pour a master impression with the temporaries seated back into the master cast. 45min-1hr later remove the the scew-retained temps from what is now your mastter cast and temporize patient with original screw-retained temps until the next framework try-in appt.
Pankaj Narkhede, DDS; MDS
7/13/2011
Hi! Dr. K:
I have replied to your email did you get it .
[email protected]
J K
7/14/2011
Thank you all again. And thank you very much for the e-mail Dr. Narkhede!
coryc
7/15/2011
put a cast, cementable abutment on the distal implant. take it's imp. first.correct the angulation a little. get it back from the lab, put it on,and take a new imp w/ an analog for the mesial and abut. on for distal, and make the mesial portion of the fixed prosthesis screw retained.
ttmillerjr
7/16/2011
It will work out fine. I say just place the impression post on the rear implant only, leave a healing abut on more anterior implant. Make the crown, then when you deliver take the impression for the other, no problem.
Richard Hughes, DDS, FAAI
7/16/2011
Dr Miller is correct. You may try shorter impresson copings.
Richard Hughes, DDS, FAAI
7/16/2011
One may be able to place angled abutments in the mouth and prep them, do a pick-up impresson of the prepped abutments and remake the die system and finish the preps on the bench and go from there.
Guy Levi DDS
7/16/2011
Easy to manage... main problem is the impression.
Use angulated abutment/s instead of regular impression copings with closed tray technique for custom abutments with metal copings + pick up impression and finish with single cement retained crowns( if you want them splinted-
metal coping should be prepared for soldering ).
If you are choosing screw retained restoration - take
impression ( open tray/splinted impression coping )
from the level of angulated multi-unit abutment...
Good luck!
Francois
7/17/2011
Hello.
I suggest yoiu take the impression of the mesial implant and restore completely to a final crown, correcting the angulation with the proper abutment and making an ideal crown.Cement that crown. There will then be no problem to take the impression of the distal implant.
If you want to splint these implants, take 2 impressions. One of each separate implants.
The have two abutments made parallel and anatomical at gum level. ON THESE ABUTMENTS HAVE TRANSFER COPINGS DONE .
sCREW ABUTMENTS, PUT TRANDER COPINGS AND PICK-UP WITH YOUR FAVORITE cb IMPRESSION MATERIAL. sEND TO LAB, RECEIVE CROWNS AND CEMENT.
Then you may start working on surgical guides to improve implant placement.
When you realised the misalignment of the mesial implant, should you have removed it and tried again immediately or later on? In myy own mouth I would have. In my patient mouth I would have also because just blooking at that every recall appointment would nother me even if no functionnal problem!!
best of luck!
DrSenGupta
7/18/2011
The first suggestion by TOBOOTH makes perfect sense.
Take 2 impressions (one of each) make custom abutments
TOBooth
7/19/2011
SO SAME SUGGESTION AS ME THEN fRANCOIS!!!!
Cory Fratus, CDT
7/19/2011
Its not ideal to take 2 separate impressions for one case of adjacent implants. Id just torque in stock angled abutments- hopefully this company makes stock esthetic/anatomical preppable abutments. if you can torque these in, just take a standard polyvinyl impression as if they were natural teeth, let the lab pour everything in stone like a standard c&b case and keep the abutments in the mouth, and temporize if you want.
TOBooth
7/20/2011
Yes but the fit Mr Fratus? its never going to be as accurate as it should be !!!!
ie individual imps for each abutment, torque abutments down, then each metal frame work with a defined metal margin (for procelain bonded to metal crown)-so the technician will never build porcelain more apical-so the finich line is pre defined)
try in if a good fit tiny bit of temp bond onto fit surface and pick up impression of the coping then technician build porcelain on.
If you want you could add a square or metal part to the top of the casting (similar to a closed tray pick up from Astra for example) to increase accuracy)
THIS IS THE MOST ACCURATE WAY FACT; DOING IT LIKE NORMAL CROWN AND BRIDGE WILL EAD TO POOR FIT AND PERI-IMPLANTITIS- I HAVE SEEN IT ALOT TRUST ME-TAKE RADIOGRAPHS AFTERWARDS AND YOU WILL BE DISSAPPOINTED.
Guy Levi DDS
7/20/2011
...in case of single cement retained crowns abutments have to be custom ( using UCLA or CAD/CAM)...
Two separate impressions make sense as one more alternative to solve a problem, but not the best alternative.
Guy Levi DDS
7/20/2011
... and BTW , what about B-L angulation ? It's very
important to know before any of us giving any suggestion...
Pieter Linssen
7/20/2011
take imp of mesial implant, put cover screw back on show lab your situation , then have them make a custom about for 31, then take imp hand back to the lab , not too bad just make sure you are working with awesome lab you will be fine seen worse
TOBooth
7/22/2011
ok, so i'm not sure people understood my posts?
but the custom abutments could have a antirotational groove present in them. Therefore a ver accurate result is possible.
Dr. B
7/26/2011
Can we know what implant system is that?
because if its 3i you can use 'Encode', which is the impression of healing abutment and they will mill cad/cam abutment from the healing abutment no impression coping needed.
Andres Paraud
8/4/2011
How about using 2 multi-unit abutment to correct the angulation (17° or 30°), and take 1 splinting impression, i think its the easy way. Regards..
Dr. H. Al Banna
10/29/2011
1-take impression with one of these implants.
2-make a key for the second implant (impression coping in place) and with duralay, taking support on the teeth (2 minimum).
3- the lab will cast the impression.
4-He will make space in the area of the second implant.
5-place the key with an implant analogue in the key.
cast again the space…
case solved and very easy to handle.
for any informations: hamdy at 00971502490769 Dubai

