Splinted impression copings: latest techniques?
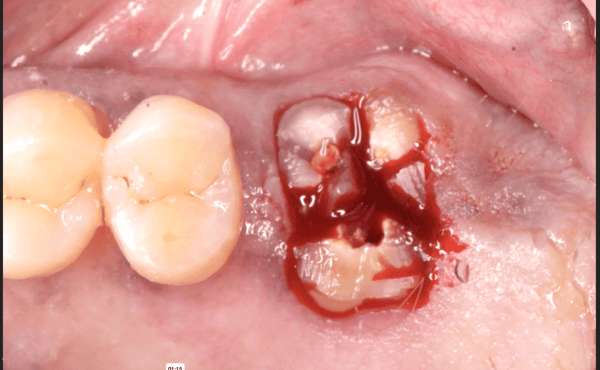
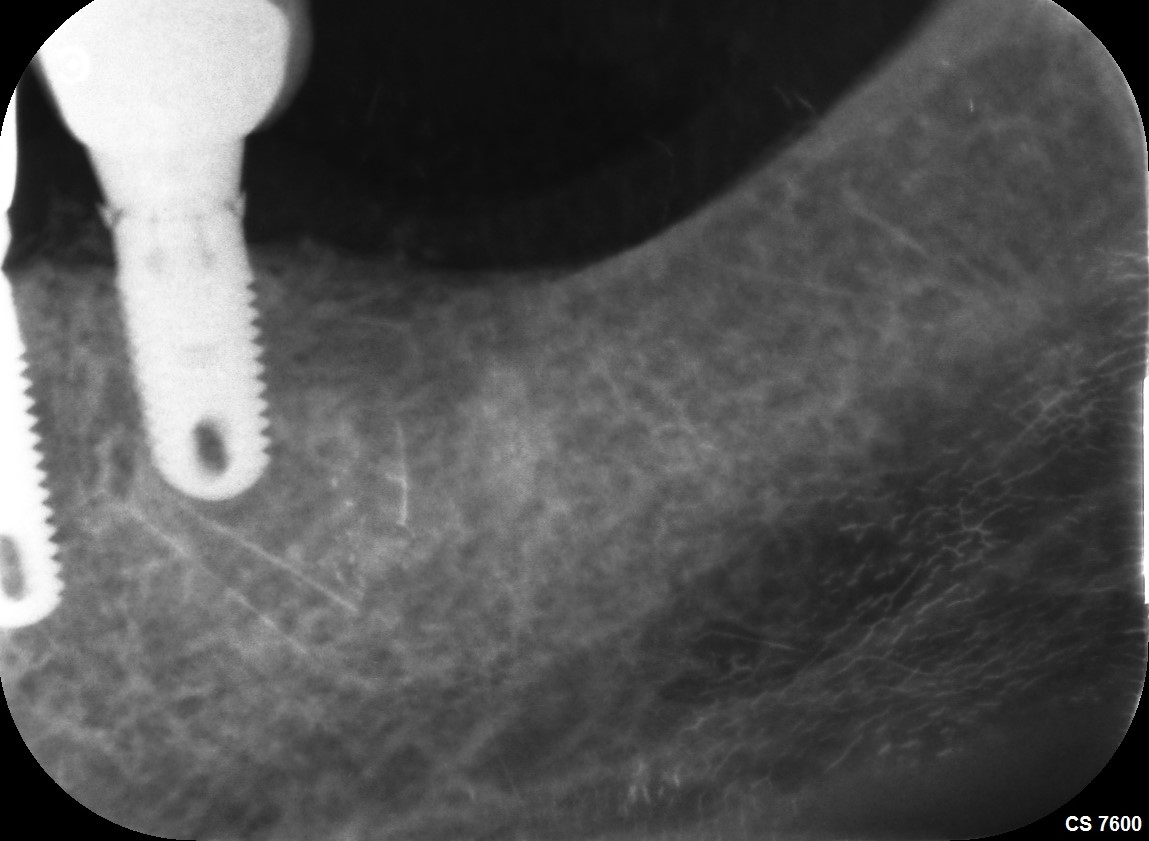
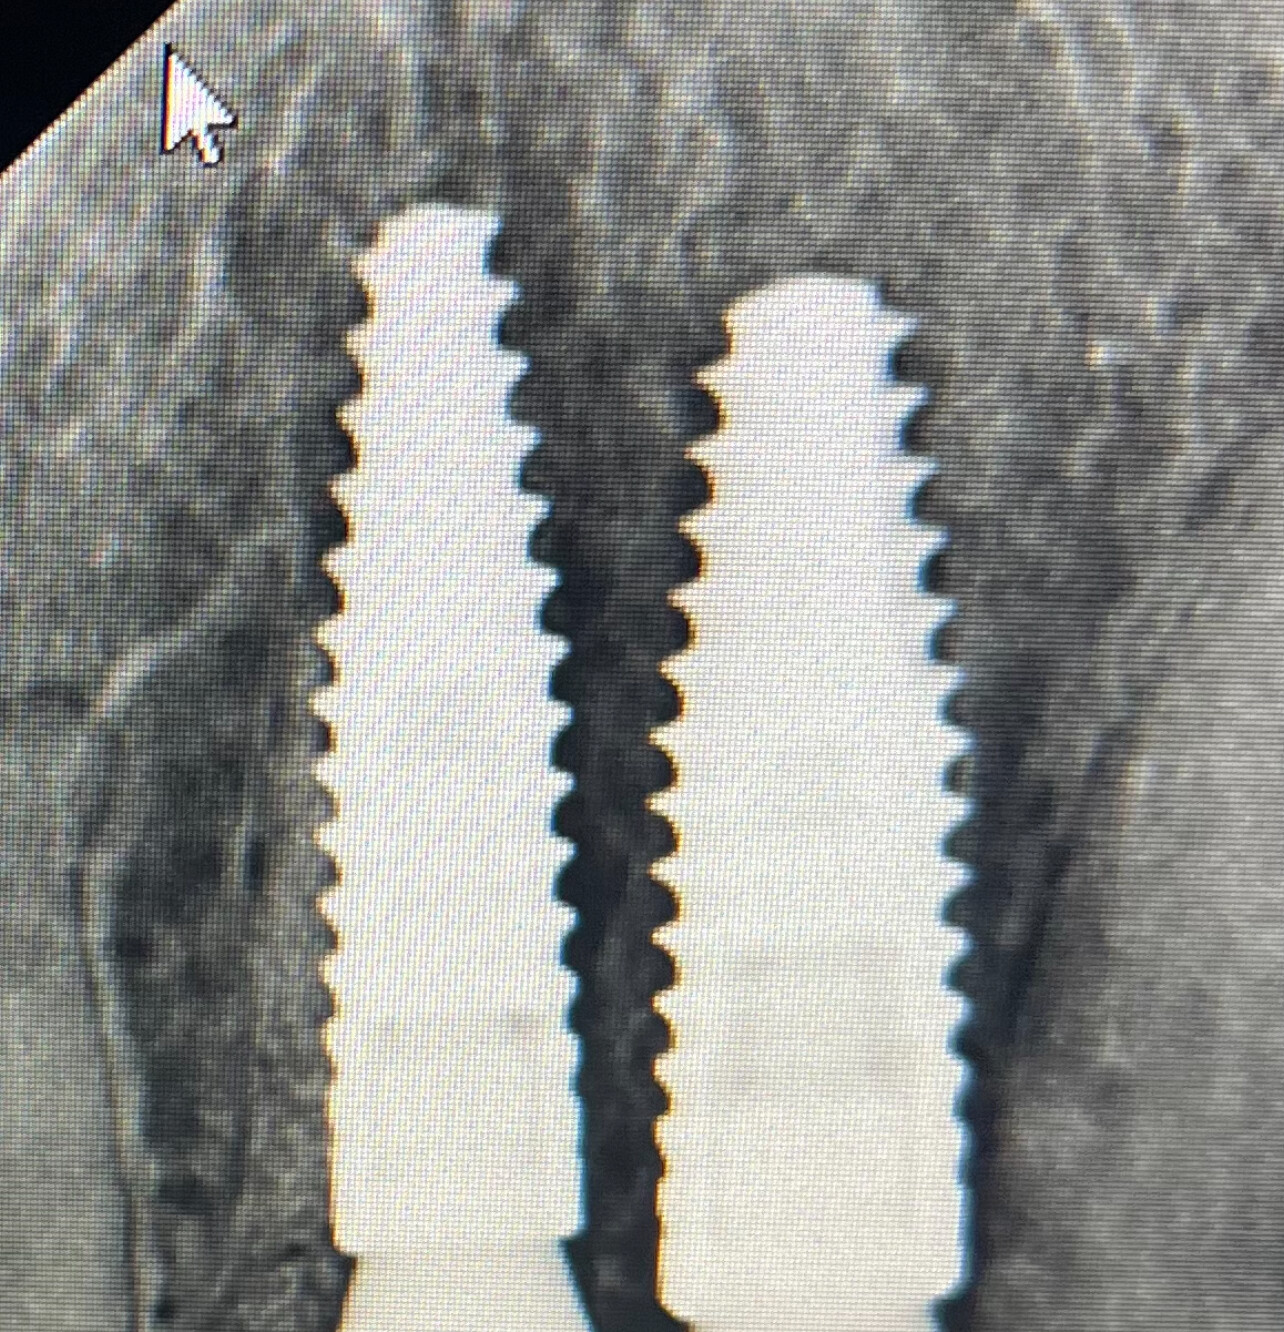
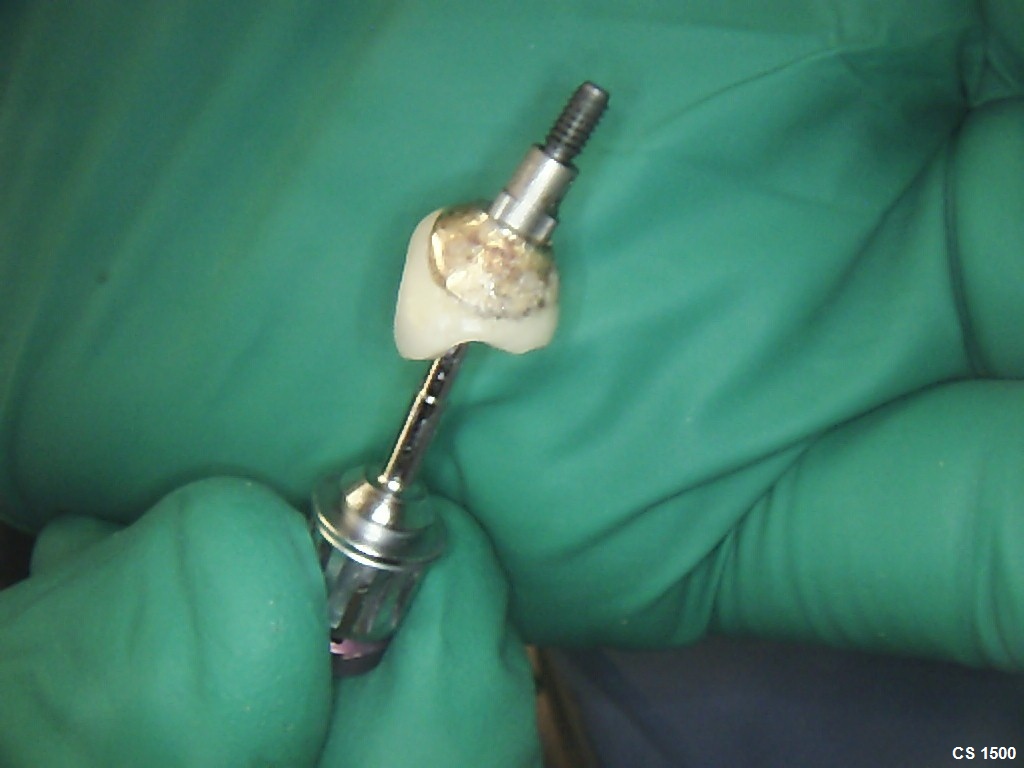
What’s the latest or proven technique for splinting multiple impression copings for the open tray technique? Are there any new or innovative products made for this?
4 Comments on Splinted impression copings: latest techniques?
New comments are currently closed for this post.
Dale Gerke - BDS, BScDent
6/4/2018
When required, I have been using composite resin (paste rolled into long “rollsâ€) to splint impression copings together. It is quick and easy to do.
Simply place a “band†of rolled resin around near the base of each coping and light cure. Then join the respective resin bands with an elongated piece of resin which has been rolled into a long relatively thin length. I usually use a flat plastic instrument to push the resin into place. Then light cure.
This technique forms a very strong splint which holds the coping quite firmly.
However I should explain several points. Keep the resin away from the gingival surface so rubber impression material can still flow into the area to provide an accurate impression. Also do not take the resin too high so you allow plenty of room for the heavy body rubber to flow around the copings so there is plenty of rubber impression support around the copings. This way they remain firmly in place when the impression is withdrawn from the mouth.
Also be aware that if the implants are quite divergent, it is better not to splint them because it makes removal of the copings in the rubber impression very difficult due to the different paths of insertion which creates an undercut situation. In such a case, there is some flexibility in the rubber impression which allows removal and if you use enough heavy body rubber and a well fitting tray it will keep the copings in place.
As a slight aside, I also use flowable resin around the gingival cuff area (after removing the healing cap and placing the impression coping) if the gingiva looks like it will collapse before I can take the rubber impression. If I individually use flowable resin around the coping, I can place the resin and cure it before the gingiva collapses and there is strength to hold the gingival “gap†before I take the final impression. By doing this there is no rush if I have multiple copings to place. Therefore the emergence profile created by the appropriately sized healing abutment can be maintained and not lost for the final restoration.
Dr Joe Nolan
6/8/2018
Dale, you have no concerns that the flowable might not get enough uv light ? I use ivoclar tetric flow bulk for my filling technique and it is a wonderful product...you using a translucent flowable? I sometimes use the technique shown by George Priest for socket development using flowable and temporary abutments to develop the emergence, which is then copied at impression time using an imp coping and flowable , using silicon putty
Mark Sheklian
6/4/2018
Is this splinting for the intial open tray impression enough that a follow up try in jig is not needed?
Dr. TK
6/4/2018
A good linked coping impression jig should eliminate the need for a try in jig.
I also use composite to make impression jigs. Dr. Gerke's technique will work fine. I was taught to loop floss in a figure 8 around the copings a few times and then build the jig with flowable composite. I am not concerned if flowable contacts the gingiva. It will reproduce the anatomy as well as impression material. After the initial connection is made, I cut the composite midway between the copings, confirm the screws are seated correctly and that everything looks right and then reconnect them by curing more flowable in the gap. That step is probably unnecessary, I learned it from a prosthodontist who probably transferred the technique as a way to eliminate polymerization stress when using Duralay on natural teeth
To state the obvious (from those of us who have had the misfortune of having impressions locked in place), after the jig is complete, remove the screws and confirm that the connected copings draw without resistance prior to taking the impression. If the implants are too divergent and the impression jig does not draw, cut the jig again and then reduce the internal engagement from one of the copings (ensure the lab uses a divergent multi-unit abutment in that location of the bridge). Usually only one needs to be modified.

